Introduction to CGI Foundation
Write a 500 word report on how CGI techniques are used in your chosen media (with reference’s)
In this report, I shall be referring to Avatar, directed by James Cameron. The film presents a sci-fi fantasy world called Pandora, where the main theme is colonisation. The “Sky People,” consisting of humans and scientists, attempt to take over the alien world in order to gain access to its valuable resources. The film is heavily dependent on CGI (Computer-Generated Imagery), which plays a vital role in creating the characters, environments, and action scenes that make Pandora appear realistic and immersive. Without CGI, the fictional world shown in Avatar would not have been possible to create on such a large scale.
One of the main CGI techniques used in Avatar is motion capture technology. This process involved recording the actors’ body movements, facial expressions, and eye movements in order to transfer them onto digital characters. During filming, the actors wore special motion-capture suits covered in sensors, while marker dots were placed on their faces. Mounted cameras attached to the actors’ heads captured even the smallest facial expressions in detail. The captured data was then transferred into computer software, where animators used it to create the Na’vi characters. This technique allowed the CGI characters to move naturally and realistically, making their emotions and actions believable for the audience. Motion capture technology was important because it combined real human performance with digital animation, helping viewers emotionally connect with the characters despite them being computer-generated.
Another important CGI technique used by James Cameron was the Virtual Camera, also known as Simulcam technology. Simulcam is a system that combines live-action footage with CGI in real time. This technology allowed Cameron to view the actors as their Na’vi characters while also seeing the CGI environment around them during filming. As a result, the director could visualise how the final scene would look without waiting until post-production. This improved efficiency during filming and gave Cameron greater creative control over the scenes. Simulcam also helped actors perform more naturally because they could better understand the environment they were acting within, even though much of it was digitally created.
In addition, Avatar made use of virtual cinematography. Virtual cinematography involves the use of digital camera movements, lighting, and compositing techniques within a computer-generated environment in real time. This allowed filmmakers to create scenes that would be impossible or extremely difficult to film in real life. In Avatar, the virtual camera operated similarly to a handheld camera, despite moving through entirely digital spaces. The realistic camera movements made the CGI scenes feel more authentic and natural, helping audiences feel fully immersed in Pandora. Furthermore, advanced lighting and rendering techniques were used to create realistic shadows, textures, and glowing environments, especially within Pandora’s forests and landscapes.
In conclusion, Avatar relies heavily on CGI to create its fictional world and tell its story effectively. James Cameron successfully used motion capture technology, Simulcam, and virtual cinematography to revolutionise filmmaking and push the boundaries of visual effects. These CGI techniques allowed the film to appear realistic, immersive, and emotionally engaging. As a result, Avatar became one of the most visually ground-breaking and influential films in cinema history.
Environment&Architecture
In class we went through the different types of environmental designs, as well as architecture
-One type of architectural style we brushed upon is modern/contemporary involving building’s of what we see in our everyday lives.


-Another architectural style we went through was Baroque (Neo-Barque), this is a design in relation to the 17 th century.Most famous for its over the top ornate appearance.z.


Enviorment – enviormental designs mostly stem from free form sketches/ideas,this can occur either before or after reasearch is is obtained.
-One example of crafting an eviorment can be created by thumbnails (preview images structred to represent bigger content such as videos/ articles etc.)Thumbnails are an easier way to conceptualise.


– Another example of conjuring up an enviormental design is by putting together a mood board.This involves collecting a series of visual images or colours: materials, textures etc to help start up a buliding block for the chosen project.


Fictional Styles
-One fictional style is Covenant (Halo).Covenant architecture presents curves/shapes not in refection to the modern human type of arhitectual elements.


-Another type of fictional style is ‘Elven.’Elven refwes to bulidings that effortlessly blend into thier enviorment.


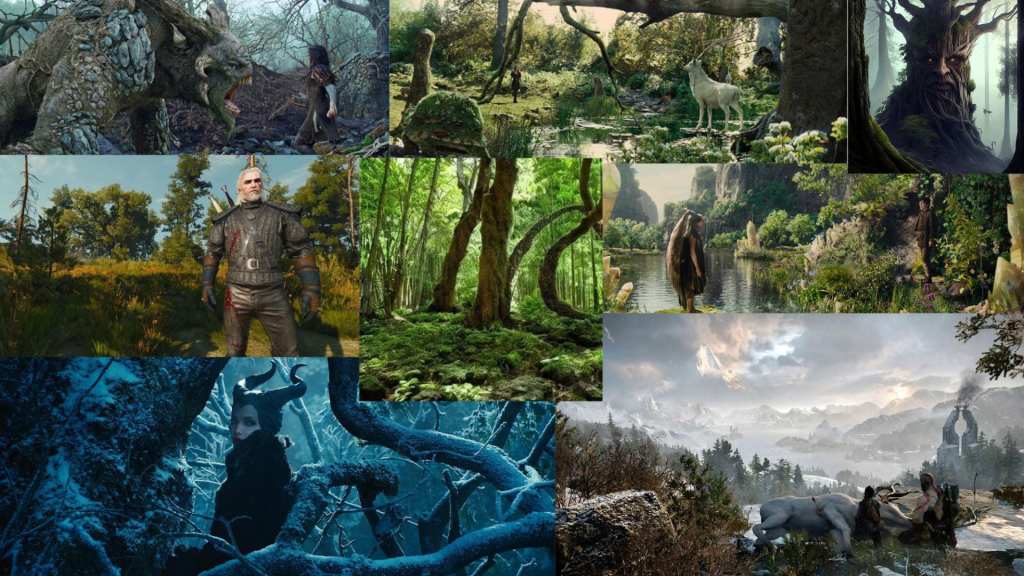
My mood board – Fantasy themed
Inspiration
I created this mood in PowerPoint and used images from movies and games such as…
– Snow White & The Huntsman
– Maleficent
-God of War
– The Witcher
– Fantasy images
Introduction to Unreal Engine
In this lesson we started to get use to the soft wear
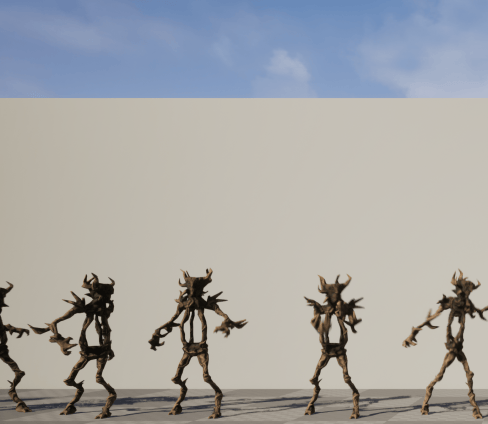
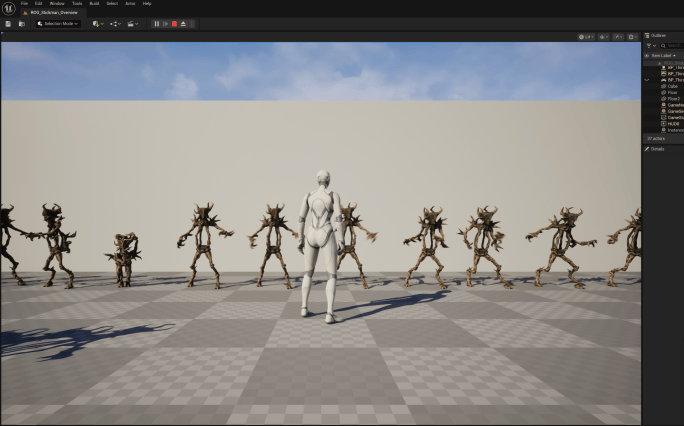
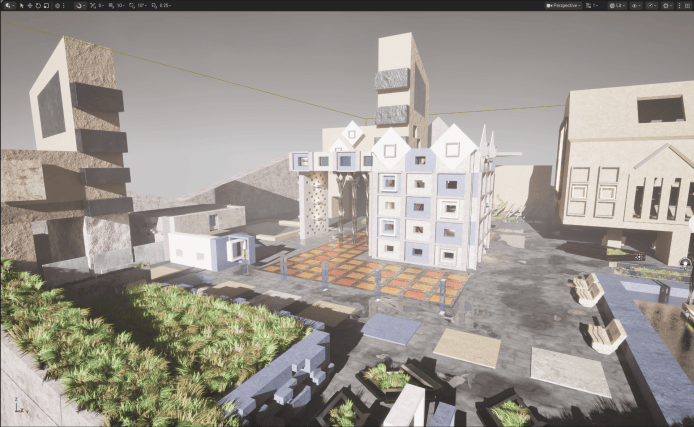
-We were introduced to Fab where you can download characters and environments
-I imported these sick figures and an abandoned like town
Blueprints
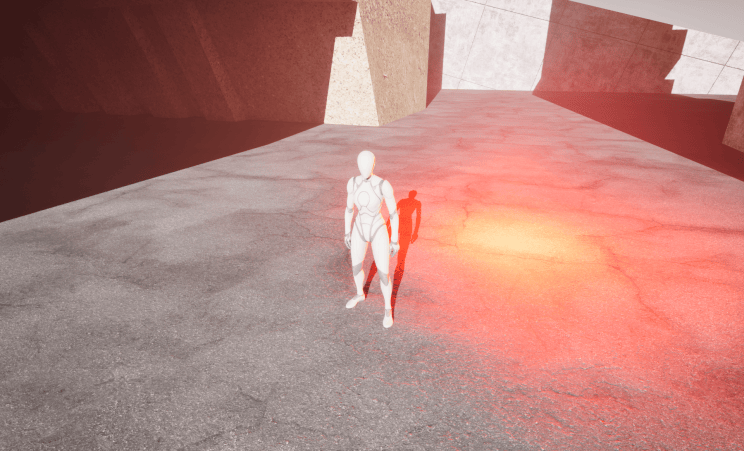
In this lesson we was learning how to make blueprints for a light that turns on character runs through it
Steps
- I open up content folder – Blueprint Class – Actor
- Select blue print light
- I then search up box in components
- Change the scale to 2.0 – 2.0 -2.0
- Press Compile
- Go to my event graph
- select all with right click
- Then go to Box and search up – Add on Component Begin Overlap
- Attach – Cast To BP_ThirdPersonCharacter
- Then attach – Other Actor – Object
- I then make a Timeline
- Press Track – Flow Track
- Add key to curve float
- Change settings to time and value
- From Timeline – Update -Set intensity (Point Light)
- connect the New track from Timeline with the New Intensity
- Click Box again and -Add On Component End Overlap
- Cast to BP _ThirdPersonCharacter
- Attach Other Actor and Object
- Connect a Delay node and set duration to 2.0
- Attach it to the Timeline from earlier lining up with reverse
- Select Point Light and change intensity and colour
- I position light box and now when my character runs through it, it turns on
Materials
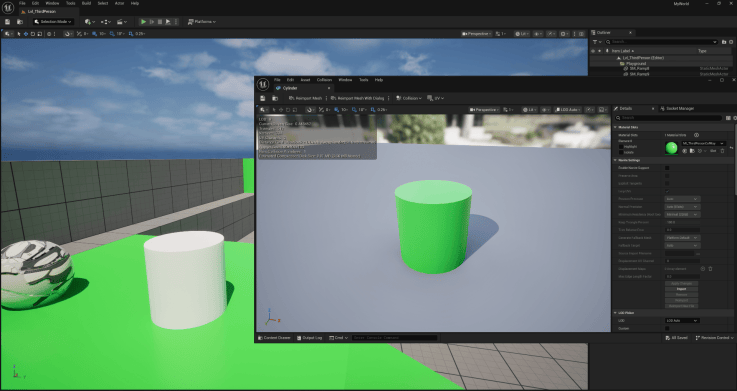
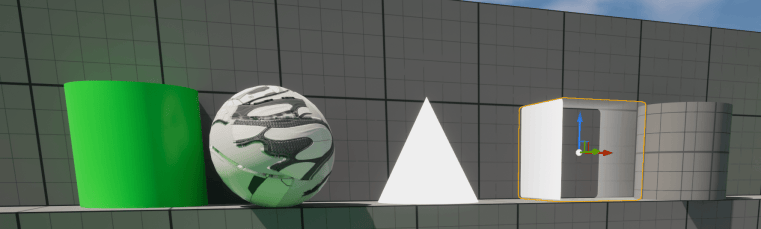
In this lesson we learnt how to change the material of objects to make them more visually pleasing
Steps
-I started off by importing 5 shapes
-I selected one shape and right clicked to where i found – Edit sphere
-Press DefaultMaterial
-Scroll through until I find a desired material
-I then repeat steps on all shapes
Landscape& Foliage
Steps
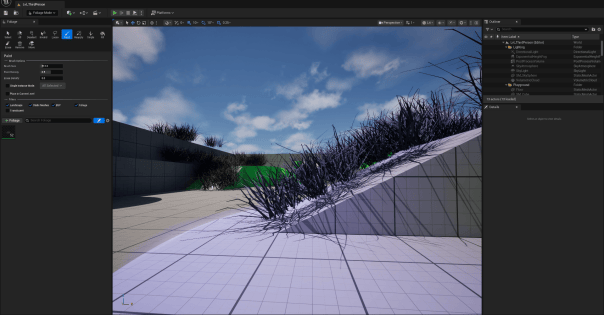
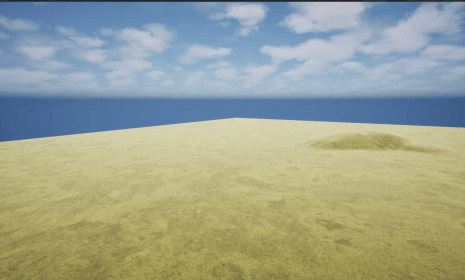
- I started off by opening up Fab where I could download some foliage
- I then switch the mode to foliage
- open up my content draw and drag and select grass
- In my world I hold down right click where I’m able to now add everything
- Steps
- Landscape mode – New landscape
- Sculpt tool
- Added new content pact
- Applied material on landscape
Lighting, Reflections and Audio
Steps
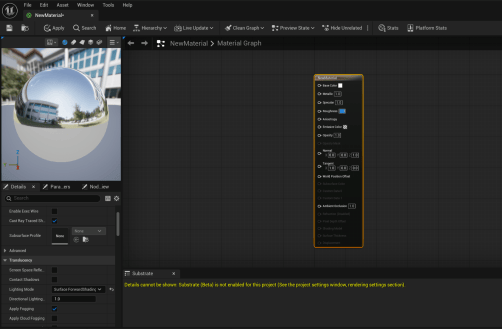
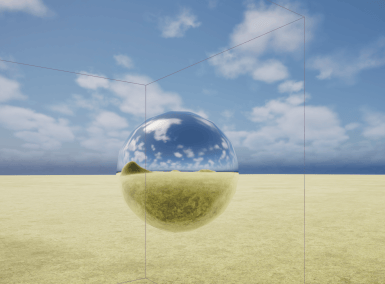
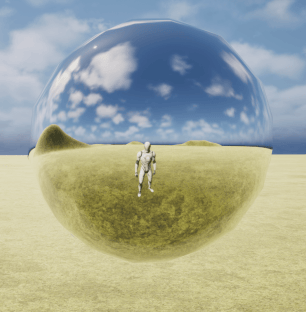
- Open up content -right click – material new material
- Edit
- Change Blend Mode to Translucent – Apply
- Scroll down to lighting mode – Surface ForwardShading
- Base Colour White
- Metallic 1.0
- Specular 1.0
- Roughness
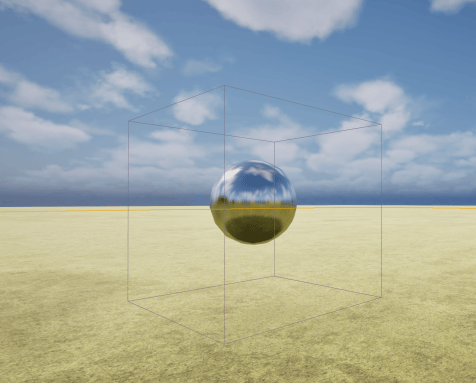
- I then click out of this segment press the icon with the cube and plus sign – shapes – cube
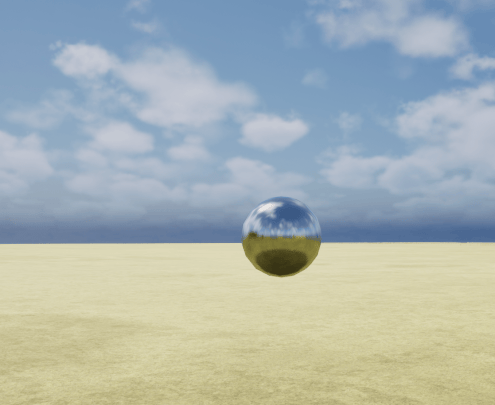
- Select cube – materials and assign the material I just created
- Next – Edit Project Settings – search handwear – make sure Lumen is on
- Search Shadows – enable Ray Traced Shadows
- Select cube plus icon – Visual Effects – Post Process Volume
- Post Process Volume Settings – Enable Infinite Extent Unbound
- PostProcessVolume – Lumen Global Illumination – turn on Ray Lighting Mode and change to Hit Lighting for Reflections and turn on Lumen Scene Quality 3.0
- Now I change the Reflection quality 2.0
- Enable high quality translucency reflections
- Max reflection bounces 2
-
Sequencer , Cameras & Post Processing
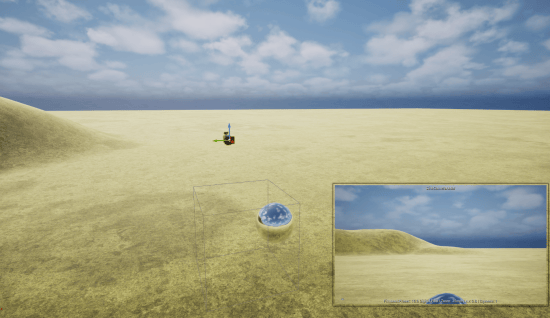
Advanced Blueprints and widgets
In this lesson we learn’t about blueprints and widgets. Blueprints, when it comes to unreal refers to crafting a visual scripting system in which allows individuals to make game logic without writing any sort of code.Widgets are users interface features that lets developers craft UI components; for example sliders and buttons using UUser Widget class.Blueprints can help in visual effects automation and workflow pipelines, as blueprints can streamline by sourcing pre-built templates simultaneously with existing processes. Results of this, reduces manual tasks and allows everything to run more effectivlecy/efficiently.Benefits of this include: enhanced productivity, collabaration/communication and improved effeciency.

Advanced Materials and Particle Effects
Steps
- Open up Content Draw
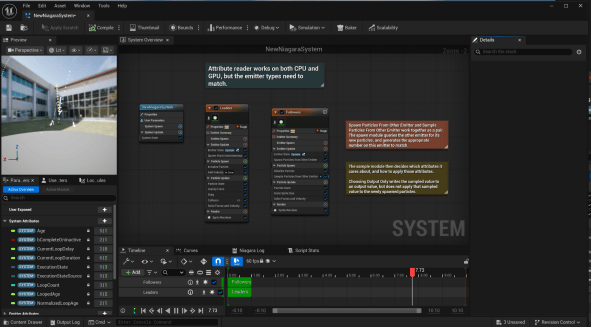
- Right Click – Niagara system
- I then chose a particle system
- Dragged it in project
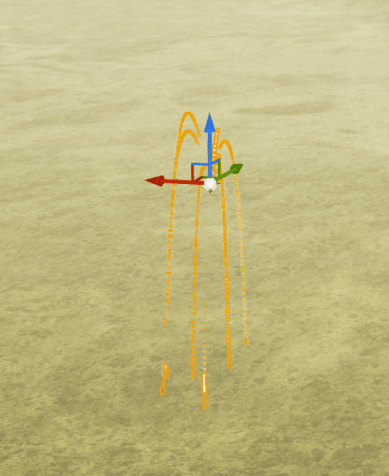
This is where I edited the properties like colour etc.
Assessment
Inspiration
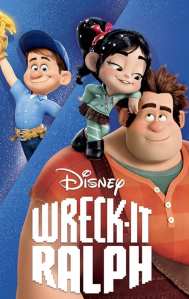
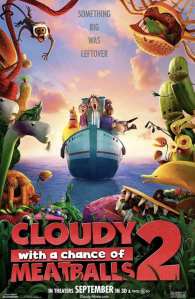
I start off by manually building my land, I decided to add some mountains and make the land pink to give it more of a candy land vibe.
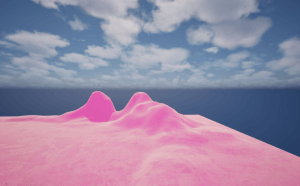
I then get some houses from FAB but change the material and colours. For this house I went with a ginger bread house theme.
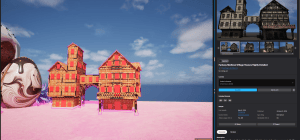
Next, I decide to get sweet treats and individually place them around the land I also decided to make a few things and change the textures/materials and scale them etc.
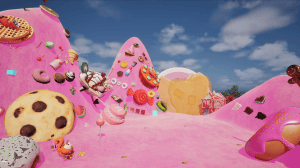
My Project – Candy Land

