Introduction to VFX Toolbox
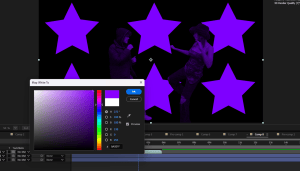
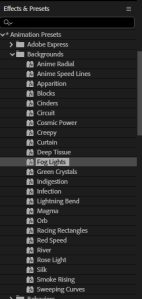
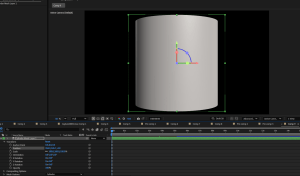
For this module we were greeted with a brief introduction on how we will be starting to use the soft wear after effects. In this lesson we had a look at the tools and had a play around with shapes and title sequences to get a feel of what we shall be doing later on in the course.
Working with Alphas, Layers and Masks
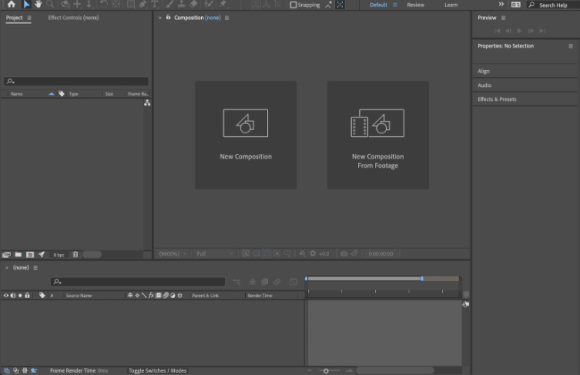
This is a further introduction to After Effects, we start off by using these original images.
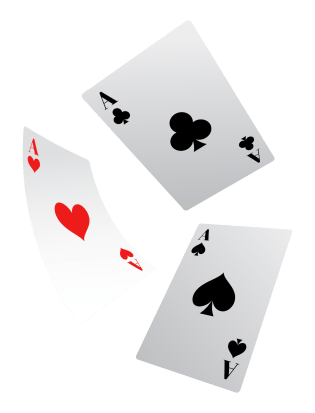
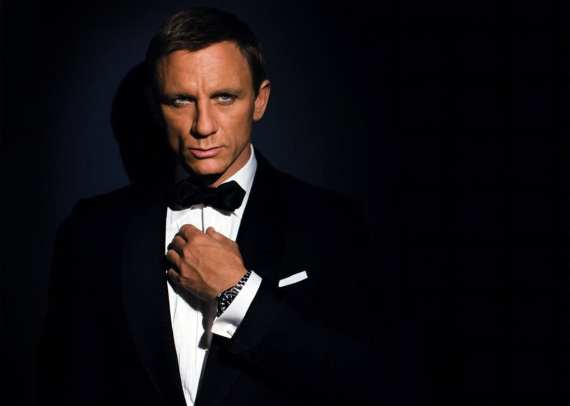
To make the cards appear in the photo we start off by making a composition and opening both files to make both original images into frame.
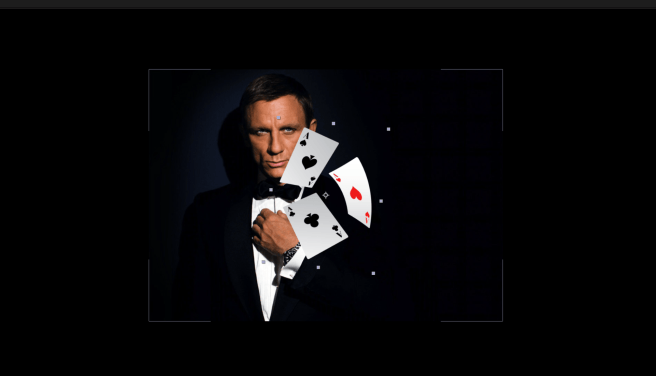
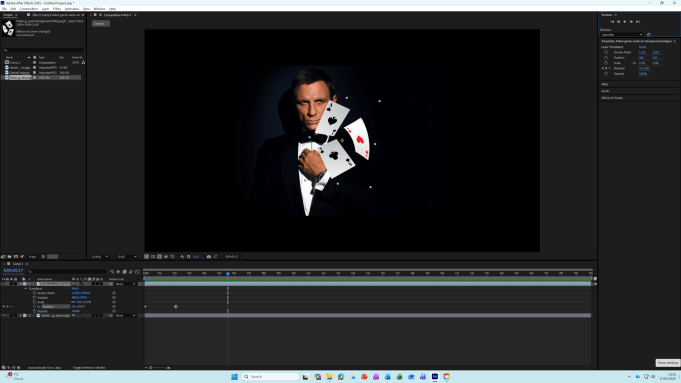
Next I was able to make the cards spin we select cards – transform – rotation
Next we take a little look at how to black out the cards with a little light shining through we do this by clicking effect – colour correction – hue 0 colour
– curves
– brightness 45 & contrast 100
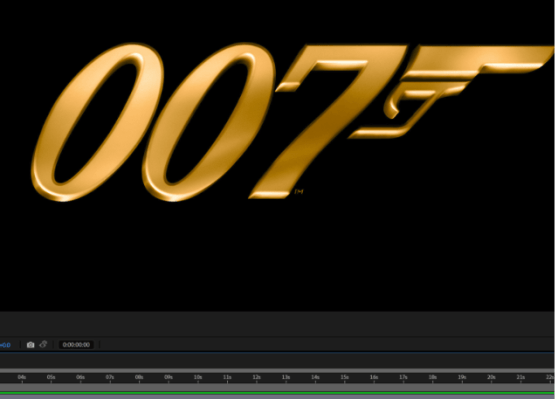
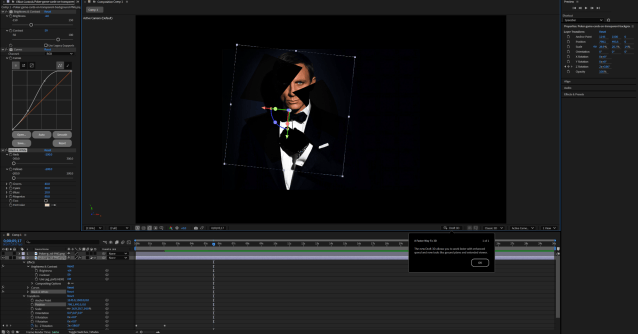
After that we then select James Bond and go to track maps – luma matte inverted – layer – new – solid – scale – rotation
Select cards turn off tracking maps -combine cards and new layer
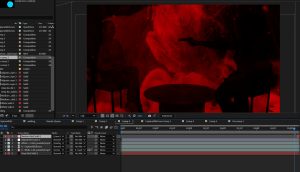
Next we looked at this skull image and a different picture of James Bond.
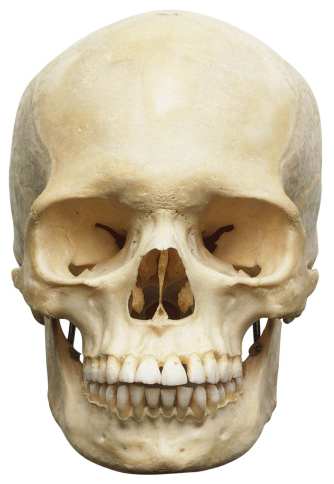
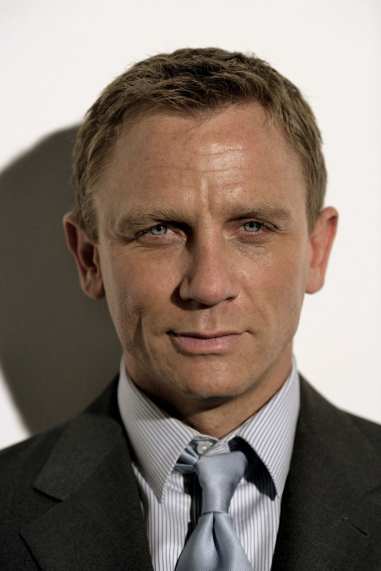
Once again we bring these images into after effects we start by selecting the pen tool to cut out the white background of the skull once this was done I then tried to scale up the skull in ratio to James Bond.
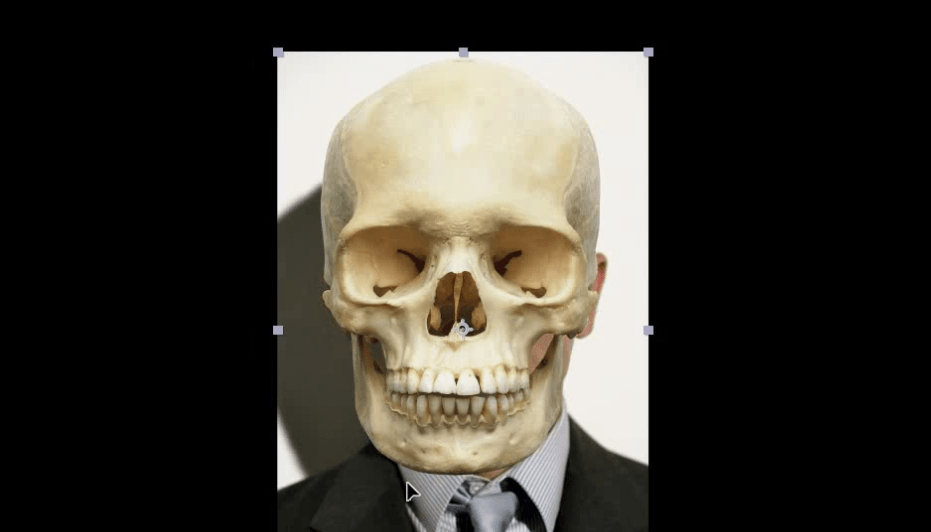
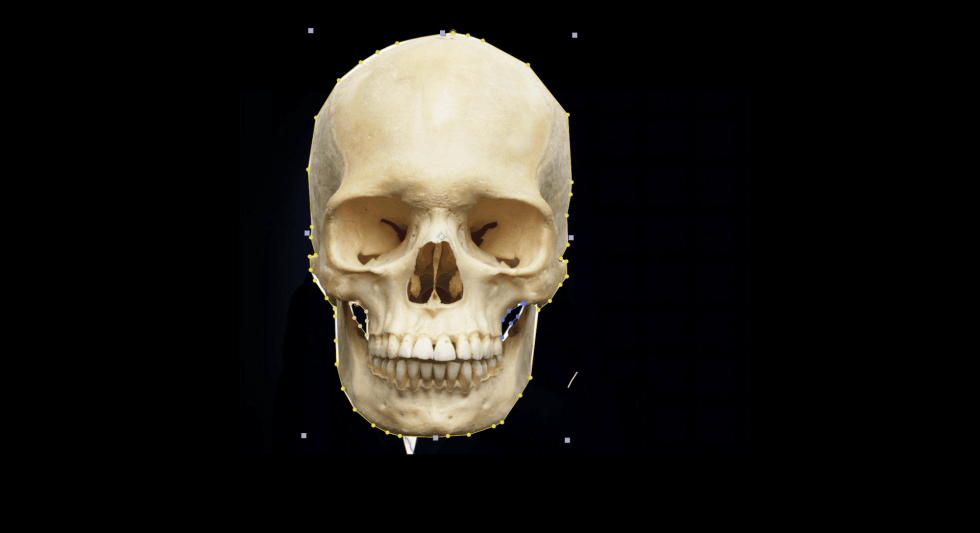
After that, we play around with the opacity and try to make images look more bendable
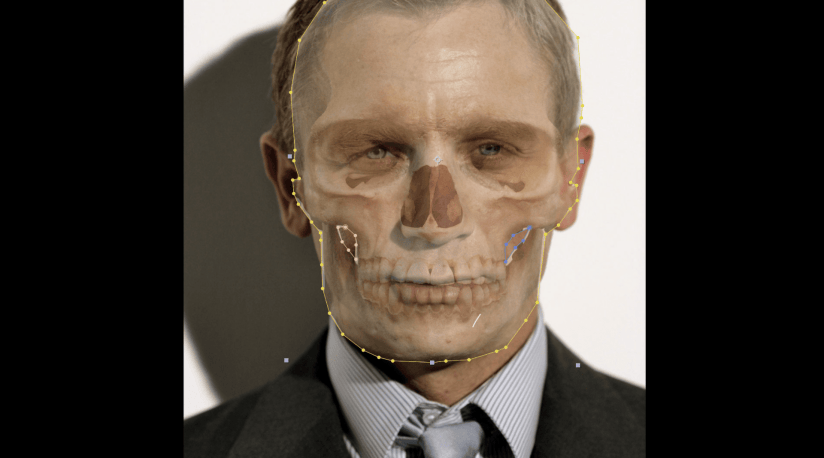
After that we added in a fire for dramatic effect
Keying Green Screen Plates
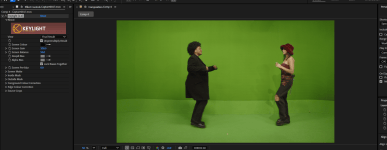
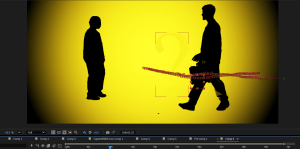
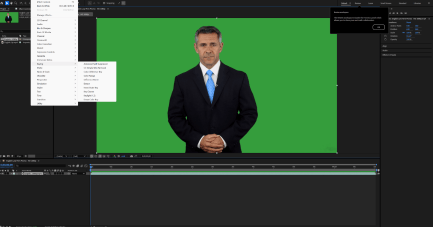
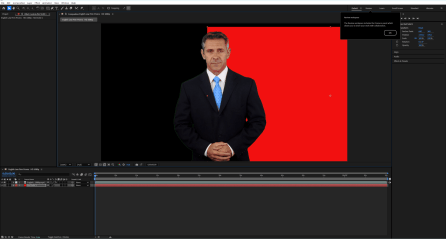
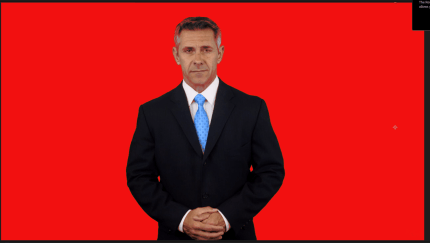
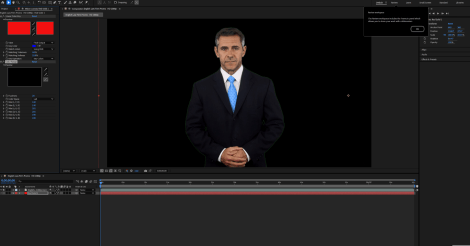
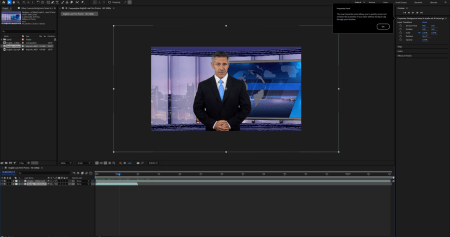
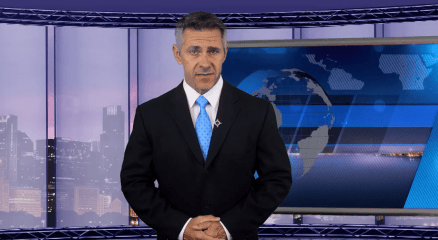
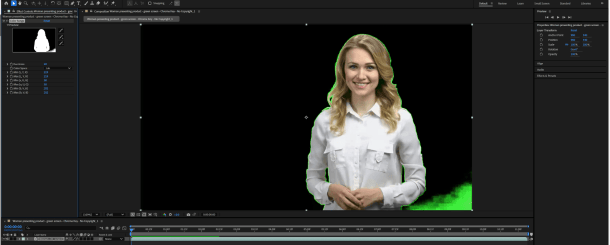
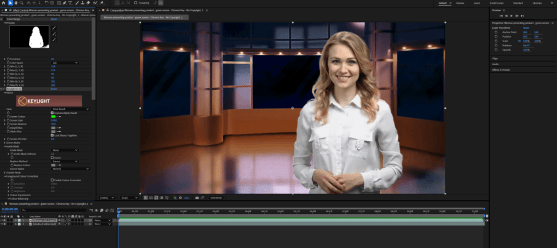
In this lesson we were given original green screen clips of news reporters and added backgrounds into frame.
Steps
-Effect – keying – colour key – keying – linear colour key
– I also used the picker to go over some pieces
– I then adjusted the white & blackness
-Lastly, I imported the background into frame
Lights Cameras and Green Screening
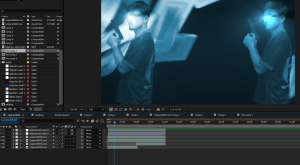
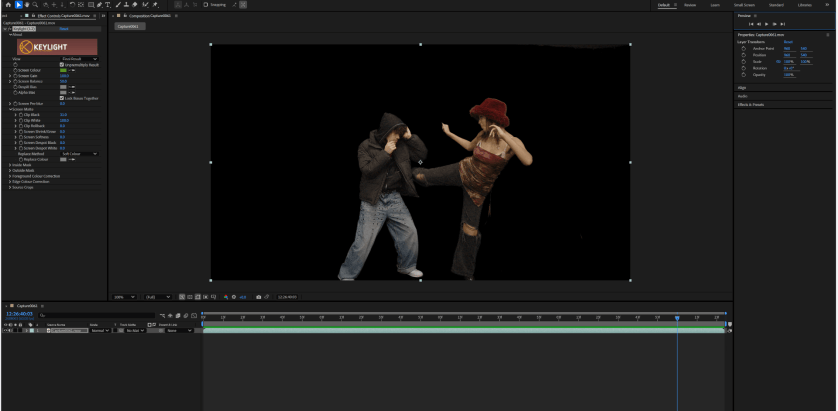
In this lesson we used a green screen to film our own James Bond and acting stunts, with the intention of keying the clips after. This was achieved by planning our mini routines, setting up the camera in frame harmoniously, pressing record/ stop and also doing re-takes where we felt necessary. This wouldn’t of been achievable without effective team work and communication.
Keying Green Screen Plates
Steps
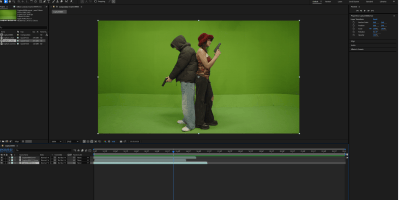
- Import files into after effects
- Effect -keying- colour key
- Select green colour
- Apply linear colour key to adjust softness
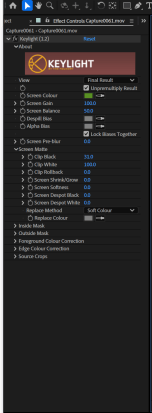
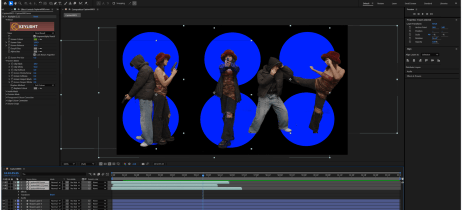
- Next, effect – keying – key light
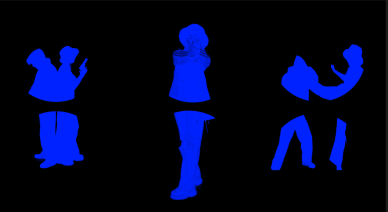
- select green screen – switch view matte
- Adjust clip whiteness to make actors solid
- Screen gain/ balance – to harmonise lighting
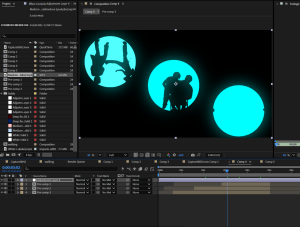
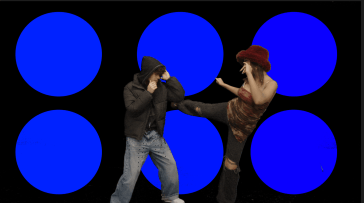
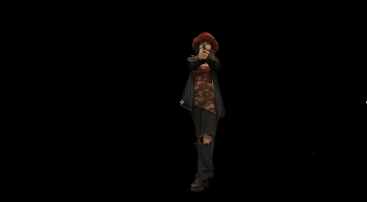
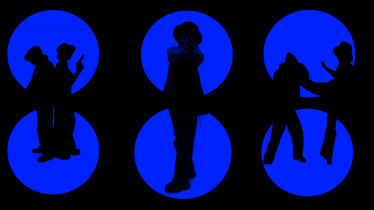
- Make silhouette – actors black by pressing fill,
- Played around with the opacity in matte
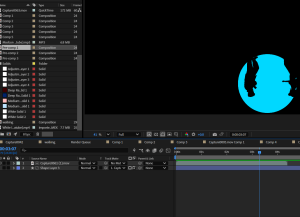
- To make the circles I selected the ellipse tool
- Pressed ctrl d to duplicate once happy with size
- Then changed colour to blue
- I then had to scale up my actors into proportion
Tracking in After Effects
Steps
- Import file
- Window – Tracker
- Tracker motion
- Apply
- Anchor point
Steps
- Duplicate clip – Ctrl d
- Hide one clip
- Select pen tool to carve out face
- Select face layer – track face
- Blur
- Steps
- Import fire
- I then go to Window – Tracker -Track Camera
- I selcet the tracker points on tree
- Right click – Create Solid
- Turn off solid layer
- Place fire where i put the tracker points and then scale it down
- I also change the brighneas & contrast, as well as glow to make it blend more into the enviorment
- Steps
- Duplicate clip – Ctrl d
- Select pen tool to carve out sign on the wall
- Re- select layer
- Tracker – Perspective
- Click on Mask – Subtract
- I then press Window – Content-Aware fill –
- Change fill method to Surface then Generate Fill Layer
- I then do this for the clock aswell
Part 2
Steps
-Window
-Track Camera
-Selected tracking points then Clicked T to add – 🙂
-Downloaded an image/poster from google
-I made the poster 3D by clicking the cube
-Then put it in overlay mode
Steps
- Window – Tracker – Track Camera
- Selected Tacking points in which I right clicked to get a solid
- I then downloaded posters from google and placed them over the points
- made sure posters were 3D by selecting the cube
- I then scaled and rotated till happy
Practical Introduction to 3D Features in After Effects
Steps
- I start off by making a composition and selecting the Preset to – HDTV 1080 25
- I then select Layer – New Layer – Solid
- Change colour to white and then make it smaller
- I click the cube to make it 3D
- I make the Rotation x settings to 0X-90.0 and put shape to act as a floor
- Scale it to satisfied
- Create another layer and place it behind shape one and make sure to put it into 3d
- I again scale shape 2 until satisfised
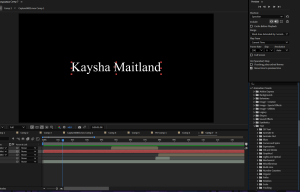
- I then select the T tool to write some text in which i hose my name
- Make text 3D by clicking the cube again
- On the floor plan layer i click Effect – Generate -Grid
- Change grid colour to black
- Adjust boarder
- I know introduce a camera by going to Layer – New layer – Camera
- Put camera t one nose
- Change view to camera
- Position and rotate camera
- New Layer – Light
- Spot light -Transform – Position
- Adjust intensity
- Cast Shadows
- I then decide to animate clip
Assignment 1 – Showreel
Maya Render Passes, AOVs, EXR export and Compositing these Elements in After Effects
Maya Render Passes & AOVs
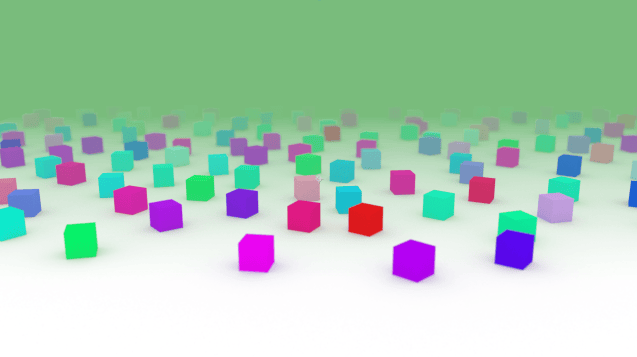
In Autodesk Maya, Render Passes and AOVs (Arbitrary Output Variables) are separate image layers exported from a render. Instead of rendering one final beauty image, you can output individual lighting and material components such as:
- Diffuse
- Specular
- Shadows
- Reflection
- Ambient Occlusion
- Z-Deptg
AOVs are commonly used with Arnold because they give compositors more control after rendering without needing to re-render the full scene.
EXR Export
These passes are exported
The results of using a Multi-Channel EXR equals AOVs to be stored in a single file, making compositing workflows cleaner and more efficient.
Typical workflow in Maya:
- Enable AOVs in Arnold Render Settings
- Add desired passes
- Set output format to EXR
- Render sequence or frames
Compositing in After Effects
In Adobe After Effects, EXR files can be imported and separated into layers using plugins such as:
- Tractor
Compositors combine passes using blending modes:
- Add → lighting/specular
- Multiply → shadows/AO
- Screen → glow/reflections
Outcomes:
- Adjust lighting intensity
- Change color grading
- Add depth fog using Z-depth
- Enhance reflections and highlights
- Create cinematic effects without re-rendering
The main advantage is flexibility and faster iteration during post-production.
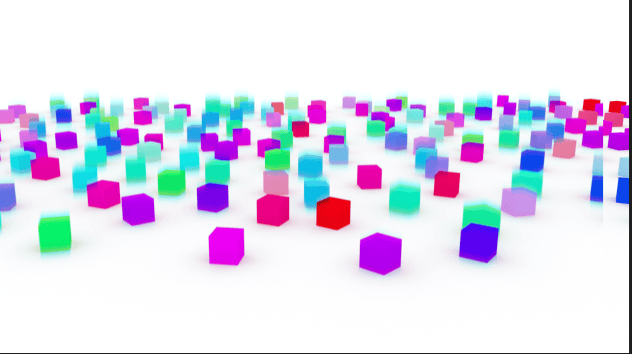
Part 2
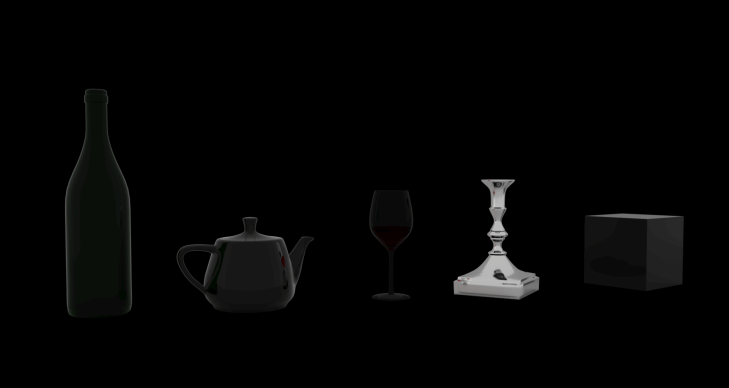
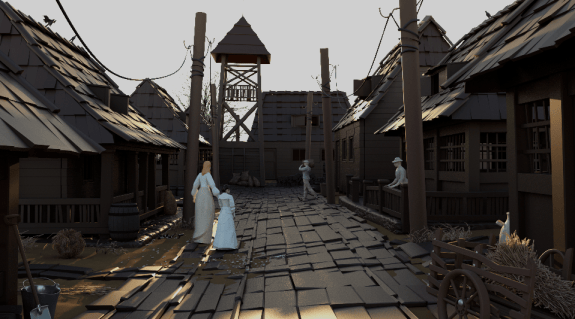
In continuation to last lesson we started off by rendering this original image in Maya and adjusting the rendering settings to see the different qualities of the image.

Camera 3
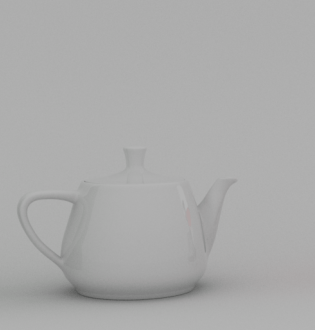
Camera 6
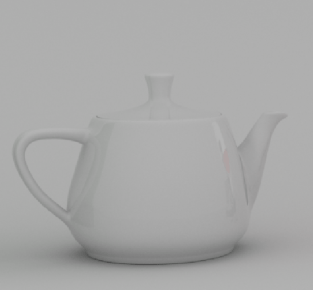
Camera 3
Diffuse 9
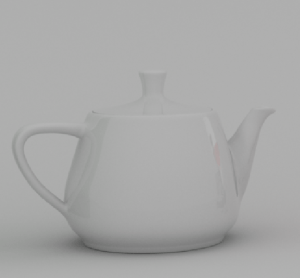
Camera 3
Diffuse 2
Specular 5

-In Render Settings I then arbitrary output variables so i then select AOV’s and add AOV , Specular and Indirect.
-Add Custom and name it AO
-Select AOV Note
-Custom AOV – where Shader is I click on chequered square
-Shader – arbitrary includer
AOV Specular Indirect
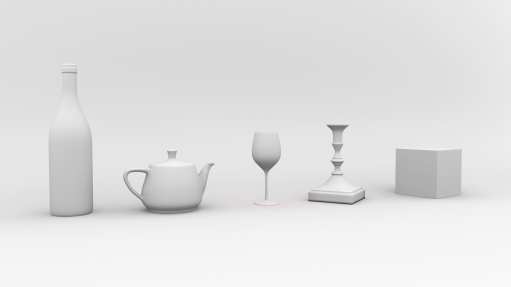
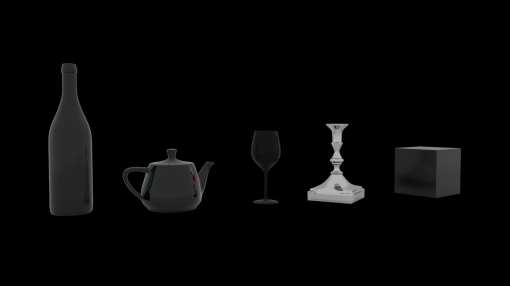
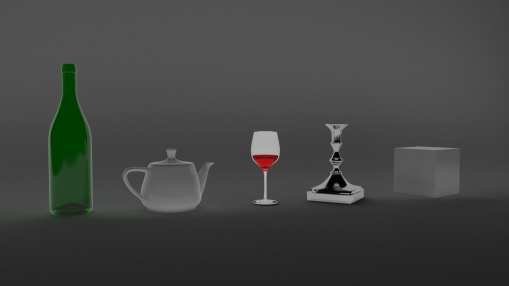
- After that i render everything into After Effects
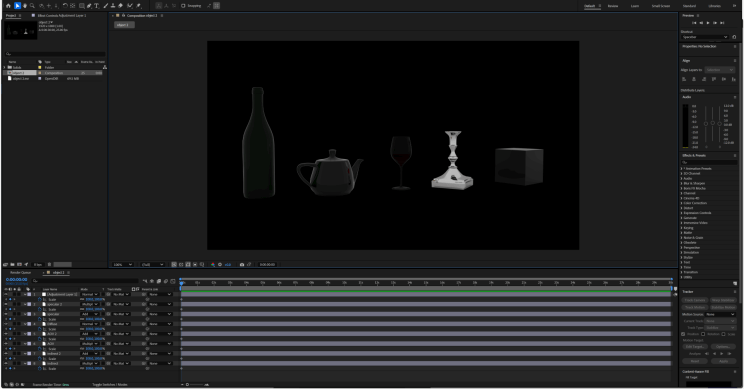
- Duplicate AOV’S by clicking Ctrl d
- Selecting the ExtractoR effect and dragging it on to layer we also duplicated layers and added multiply and add to them for different effects
Modal Village
Orginal Image
Ambient Occlusion
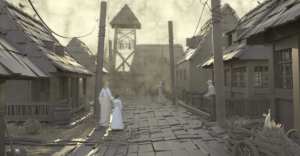
Final Image
Introduction to Dynamics
In this lesson we learned that Dynamics refers to programming objects etc in a natural way. If a ball in real life was to roll at a high speed into a brick wall the brick wall would fall down because of gravity. In Maya we learnt how to recreate this in a natural way we started off by downloading basic shapes and building a wall. Once that was set up it was trial and error to find the right angle, once found collision was made.
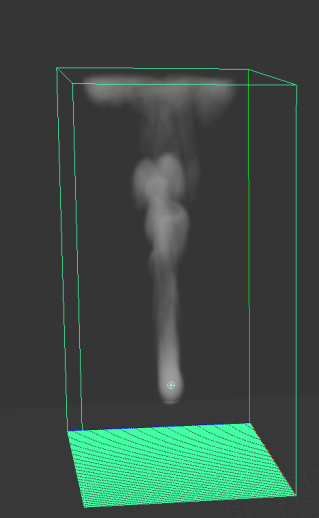
Fluid Containers
Steps
- To make the fluid tank I changed mode to fx, then selected my tank
- Then in fluid shapes one I went to containers property I changed the size too15.000 20.000 15.000
- Then I select my Emitter, where I change the Density/Voxel/Sec 3.000
- Then I re select my fluid tank
- Contents method – density – dynamic gold
Base resolution -30
- Contents detail – density – buoyancy 1.700
Dissipation – 0.100
Velocity – swirl 3.798- noise 0.349
Turnbalance – strength 0.030
textures and turn on – texture colour/incandescence/ opacity
- Container properties – base resolution 120
nCache – create new cache – Maya fluid
James Bond Final Sequence: