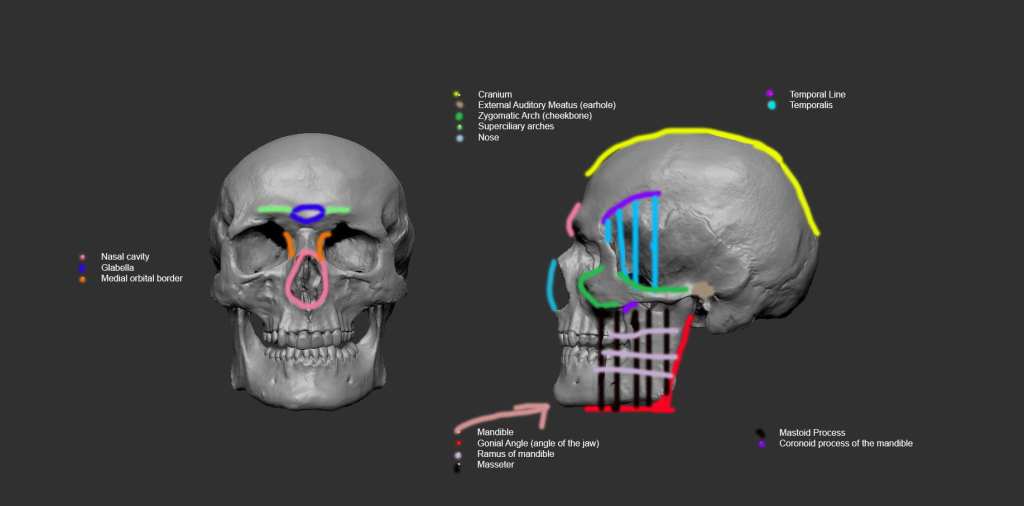
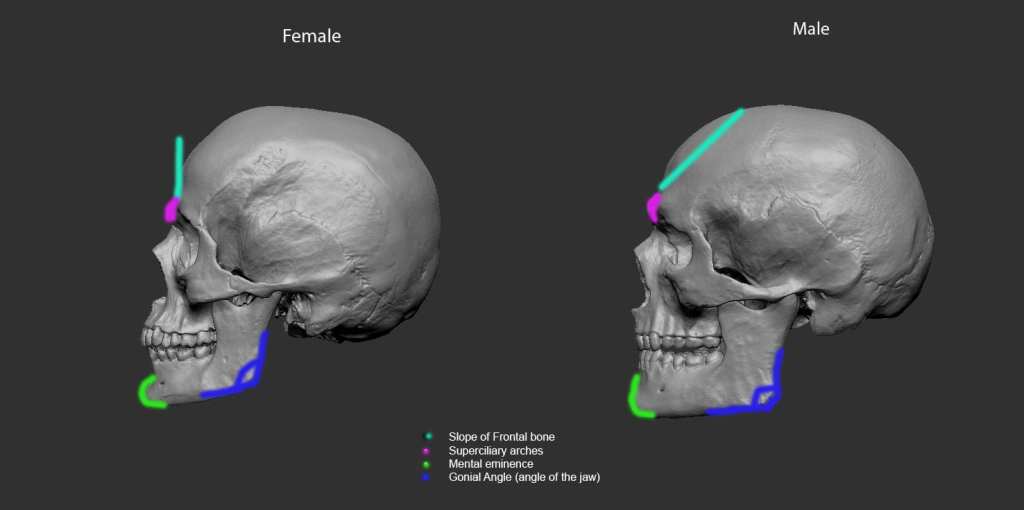
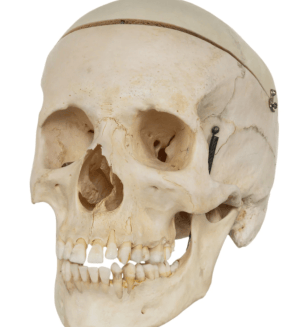
This image represents the structure of a male and female skull. I effectively used photoshop to label the different elements of the skull. To achieve this I used the layering tool- per each label where i then selected selected the paintbrush and changed the colour per layer and each feature to easily distinguish.
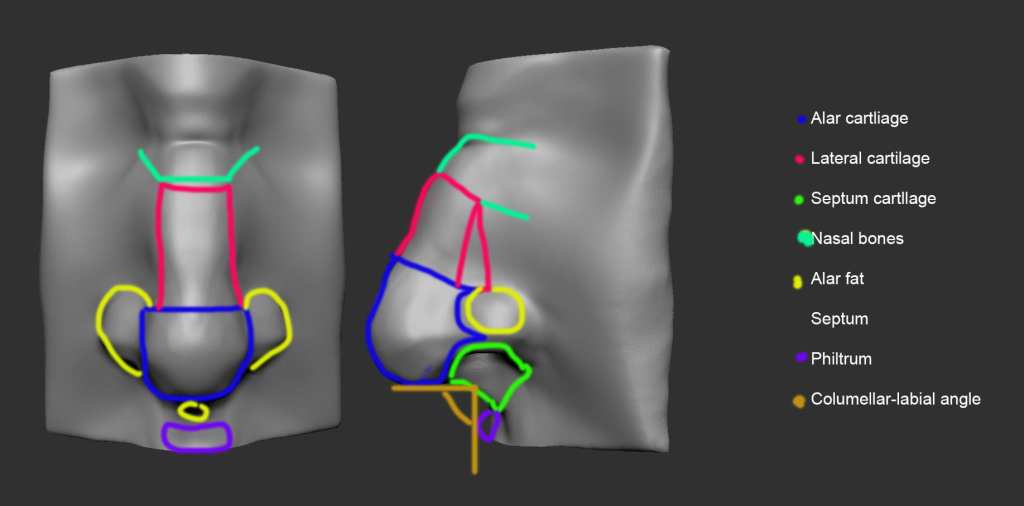
This is a labelled picture of the nose which shows each individual feature.
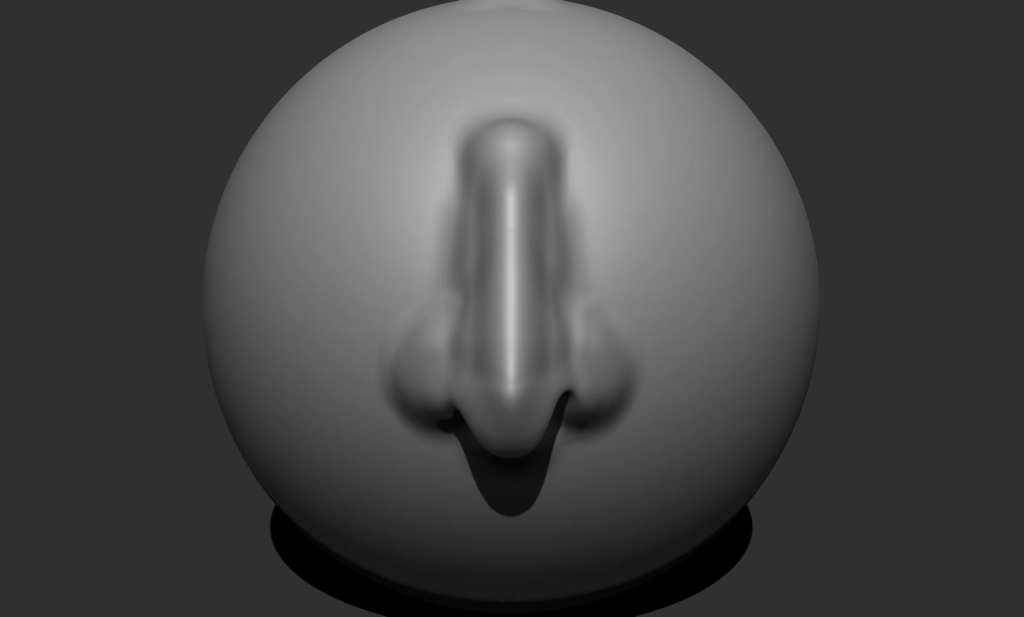
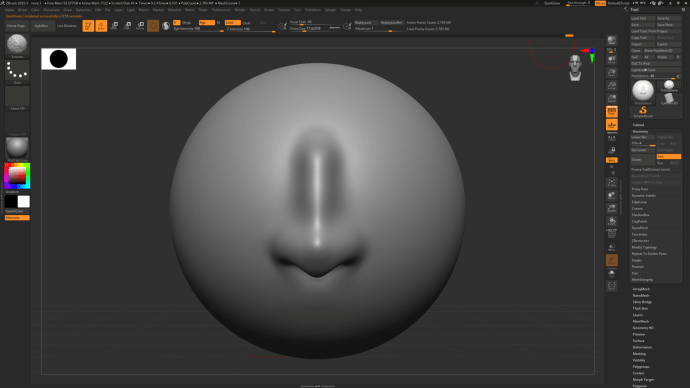
These are my first attempts in making human noses in Zbrush
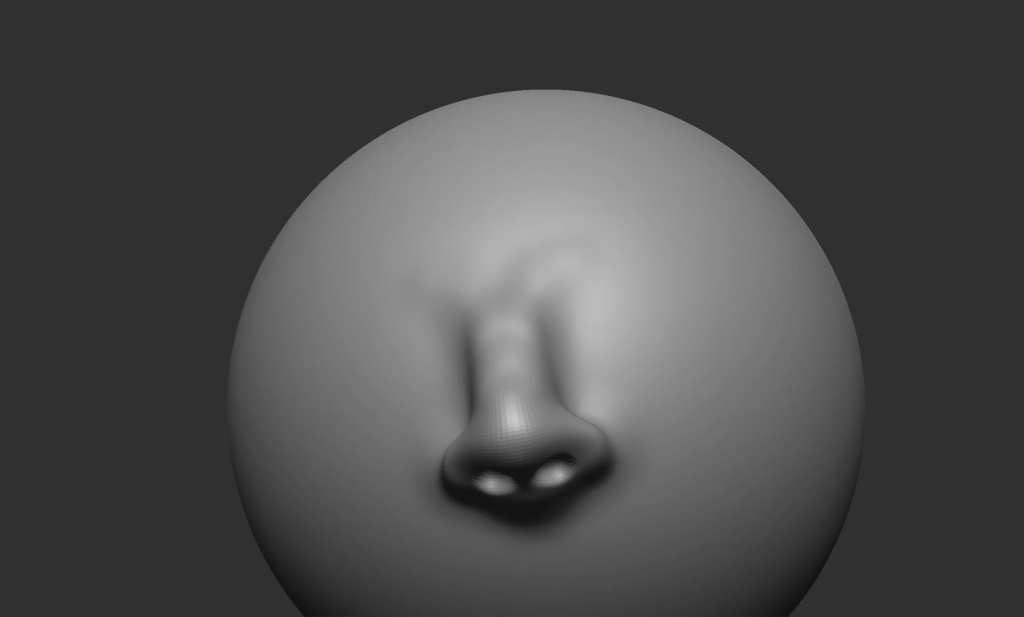
Steps
- I first selected the dynamsh sphere where u can access the shape by clicking on lightbox
- I then selected standard brush where I was able to start crafting the nose on my sphere
- The geometry tool to divide to increase the polygon count
- I switched between the standard bush and move brush
- I used the ctrl button for definition
- The alt button was used to deepen the nostrils
- Throughout I selected the draw size so I could then get bigger and smaller features with the brush
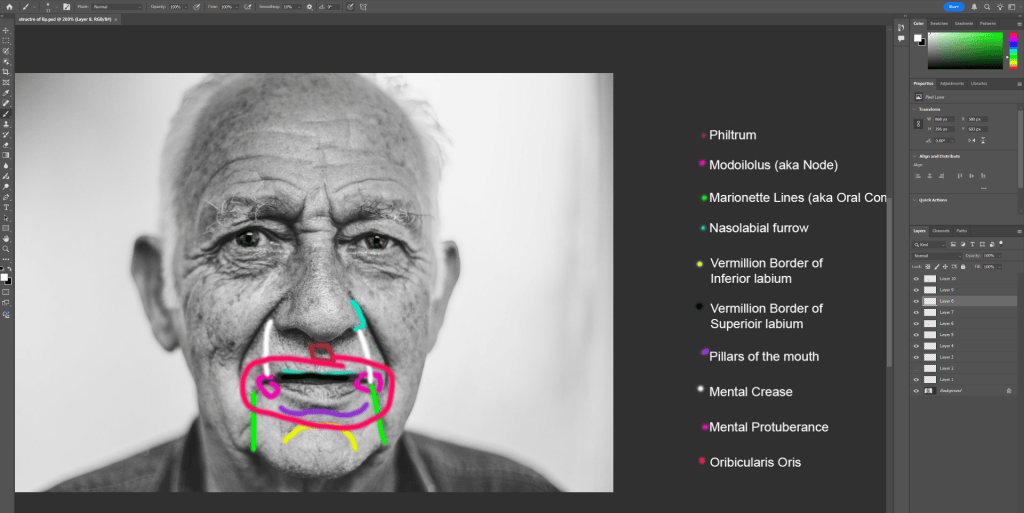
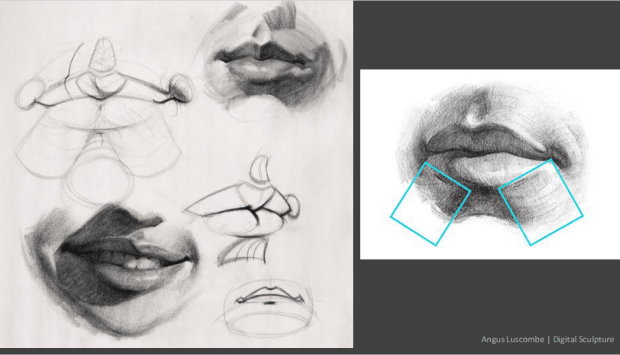
Structure of the lips
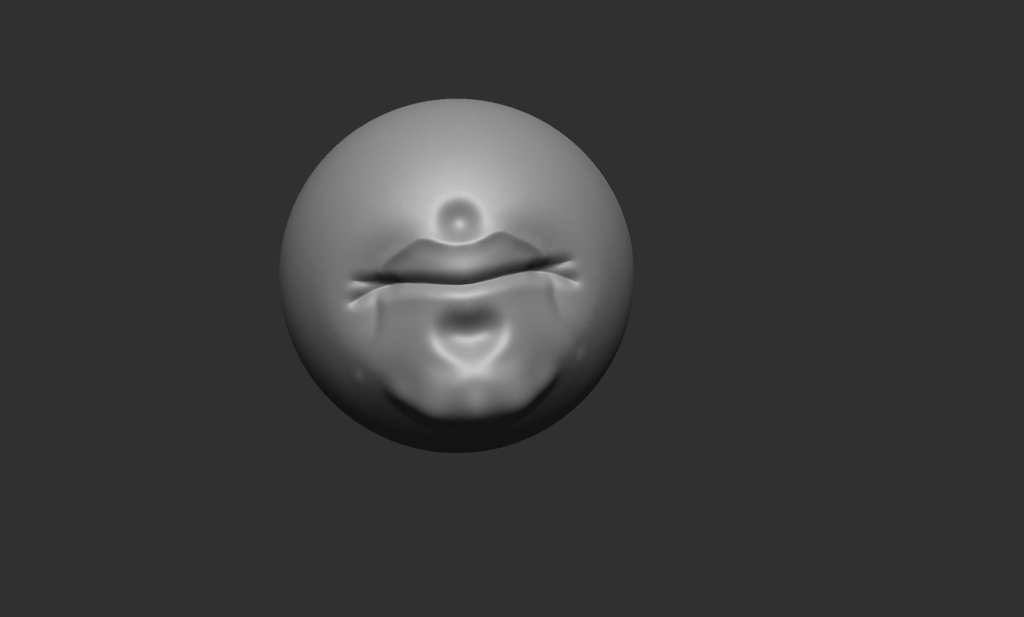
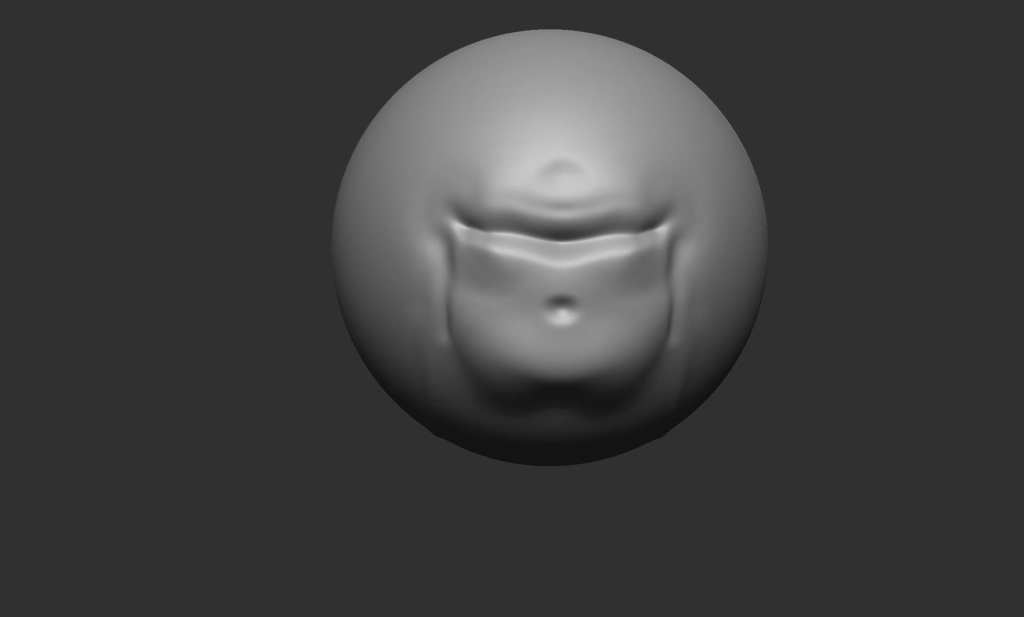
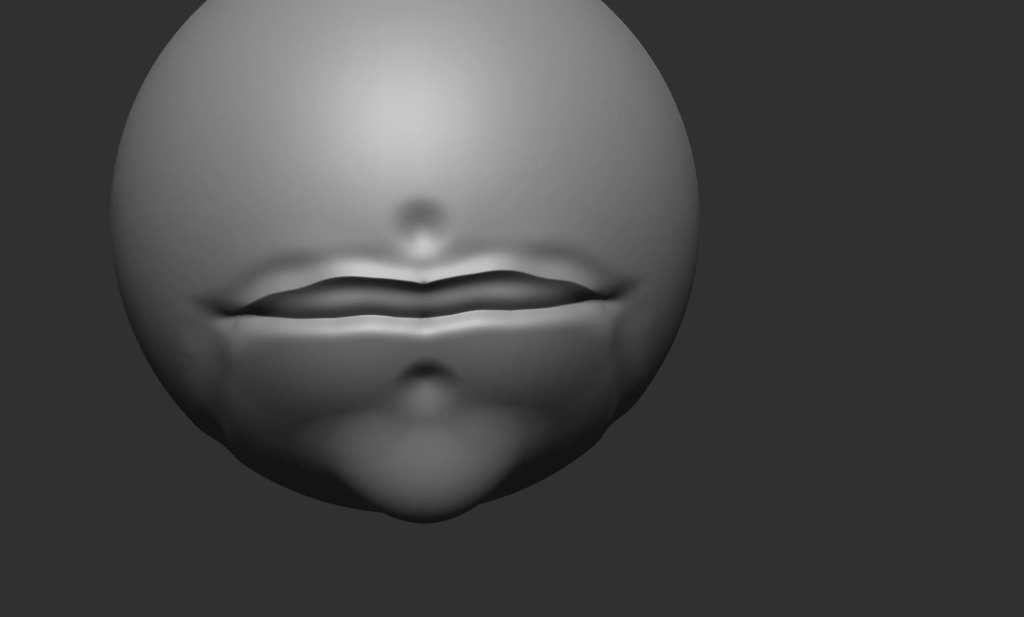
Steps
-I opened Zbrush and selected the DynaMash_Sphere
-Next I increased my polygons by clicking on geometry where I was able to divide
-I changed my brush to DamStandard
-I reduced the intensity to 20 as is it was more fitting before constructing the top lip and the marionette lines
-I then switched back to standard brush and held alt when making the philtrum and the modoilouls
-Through out I used the shift tool to smooth different areas
To conclude I shifted between all these different tools to create these images
Structure of Ear
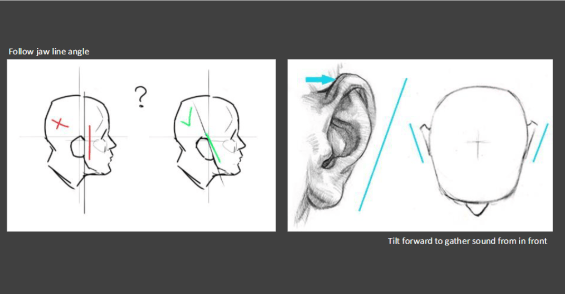
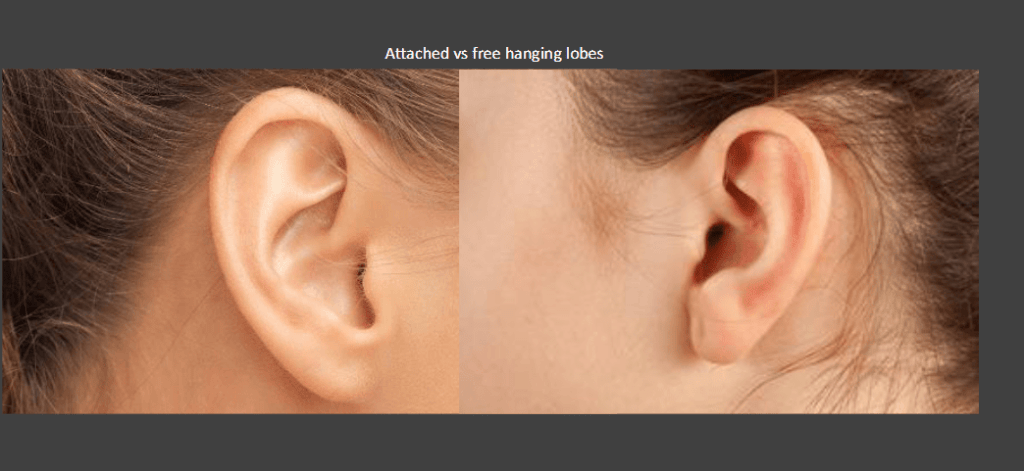
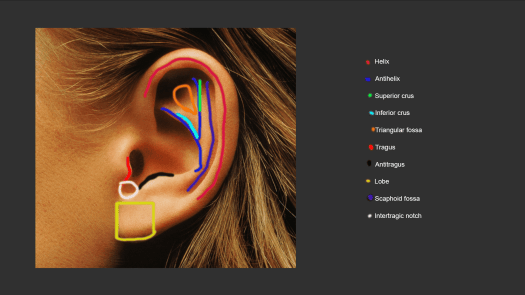
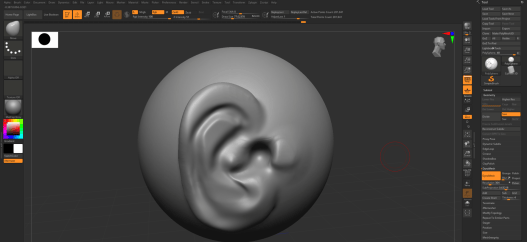
Steps
-Firstly, I selected the Dynamesh sphere in Zbrush
-I then selected geometry, followed by Dynamesh where I changes the resolution to 304
-I moved sphere to side view where I crafted out a peanut like shape whilst holding as the basic foundation for me to start crafting my ear
-After that i inverted it by pressing Ctrl Click
-Now, it was time to select my move brush my typing BMV, to give the ear more body
-I got rid of mask by clicking Ctrl then click
-Next i held down alt to carve out the helix shape and other prominent elements of the ear
-Throughout I switched between: move/standard brush, held shift to smooth and alt to deepen/define
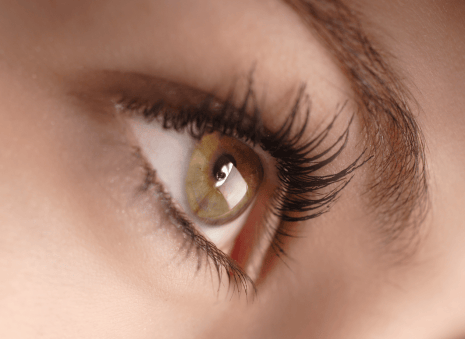
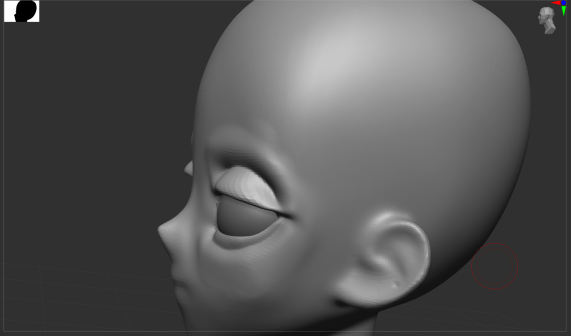
Structure of the eyes
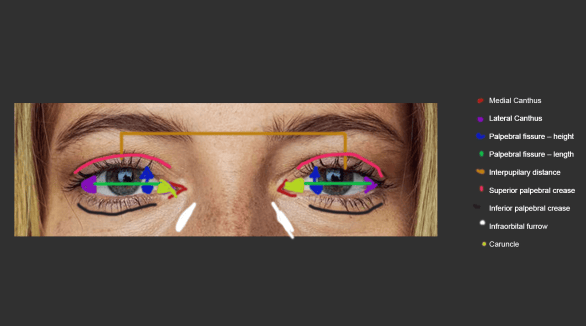
Steps
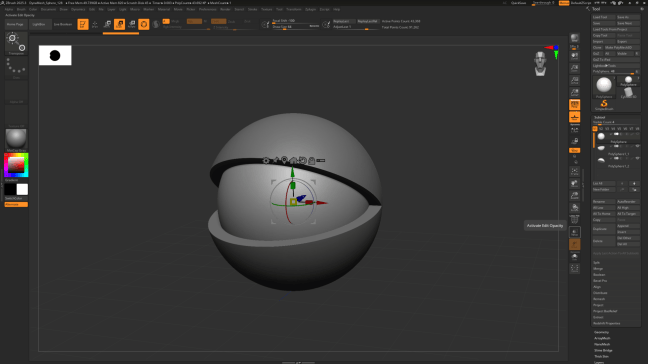
-Firstly, I selected the DynaMash_Sphere as that was the most fitting shape for the eye
-I then selected the sub tool where I then duplicated my sphere
-Next, I turned off one of the spheres so I could just work on one of them
-I used trimrect to cut my sphere where I then was able to rotate and scale it
-After selecting my head and positing my eyes, accordingly using the move key, I was able to use clay build up to recreate the fat around the eye
Pupil
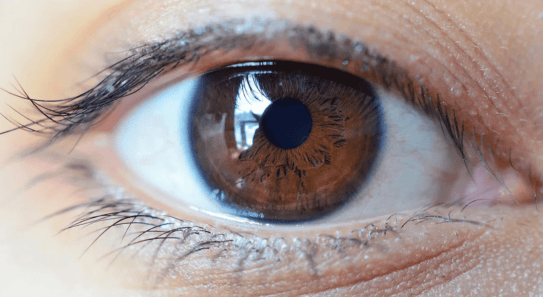
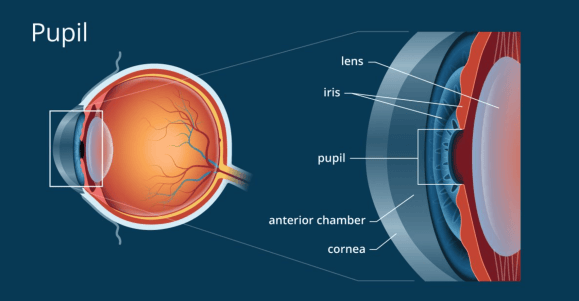
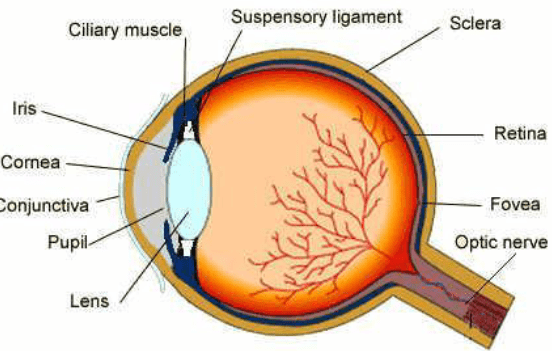
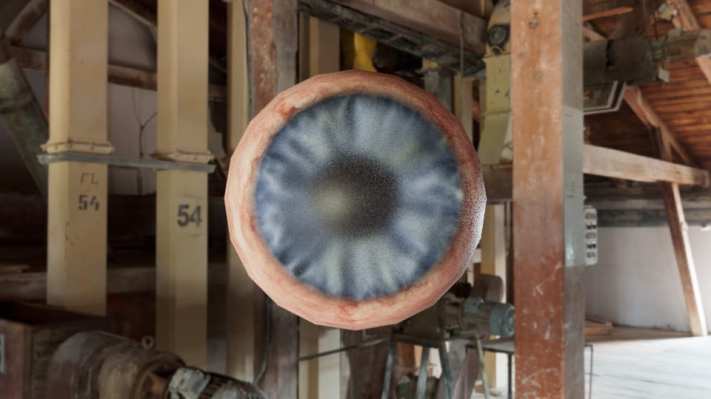
Pupil made in Maya
Steps
- I opened up Maya where I selected my sphere
- I then selected channels where I changed the resolution x to 90
- Followed by pressing: click, face, shift, delete
- Next, I turned on soft selection
- After that I held down right click, vertex and used the yellow arrow to move in
- I then turned off soft selection and used my mouse to go on: faces, shift, middle
- Ctrnl E to extrude where I can control the thickness
- I then click on vertex where I am able to scale down
- I pressed edge and double click with my edges selected I was able to edit – mesh – bevel
- I changed the fraction to 0.6 and segments to 3
- I switched to object mode so I could assign new mater
- Next, I grabbed Arnold then standard surface
- I then selected colour, file and then photos to build up colour to the eye
- After that I pressed object move – Uv editor -camera base
- Modify unfold
- Directly after, I went on to standard surfacing – bump – bump
- Then I pressed mapping – file – iris bump
- Poly model – sphere – channel – rotate 90
- I then right clicked vertex – B – pull out-xb
- After that I pressed Arnold – sky dome
- Industrial background
- I pressed assign new material I then clicked ai standard surface
- Followed by transmission – ramp
- My final steps was to render
This image was instructed to make a little 3D monster. The software used to create this was Zbrush
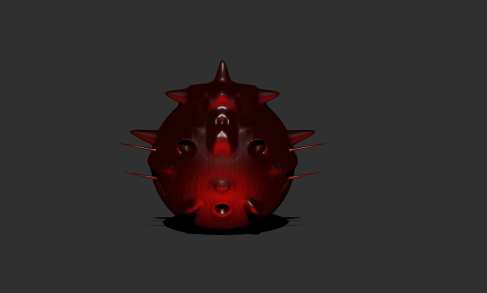
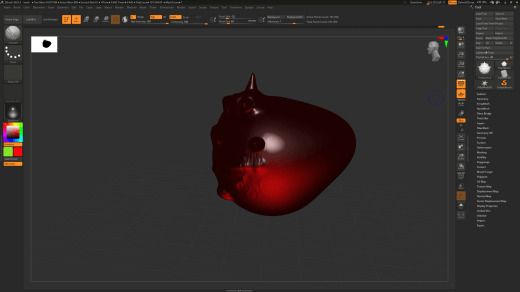
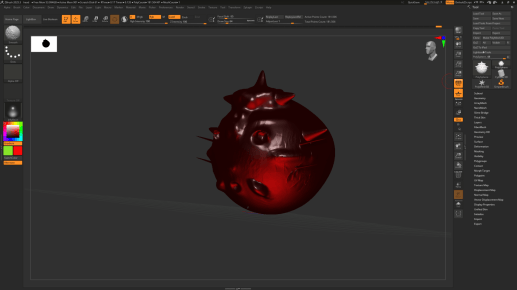
This is a short little movie where you can see little elements of my monster being constructed
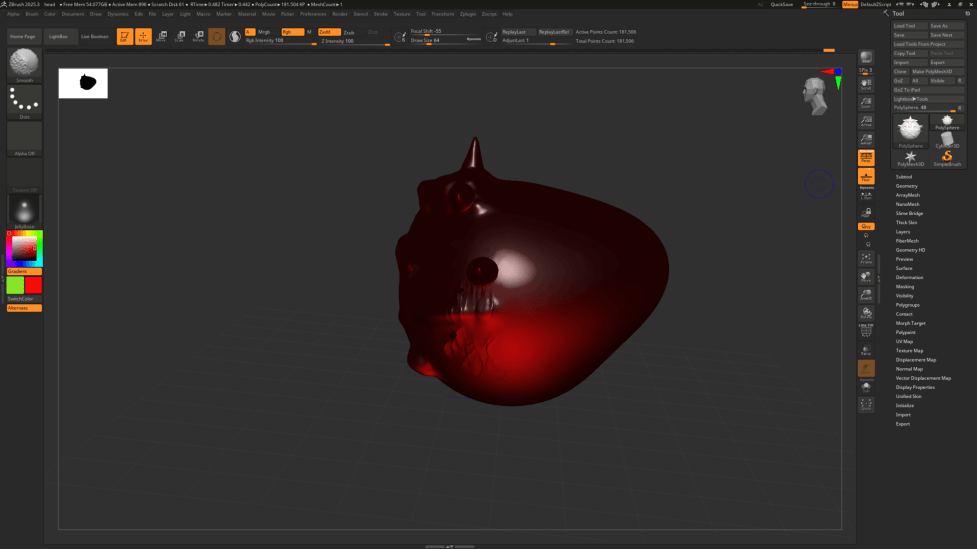
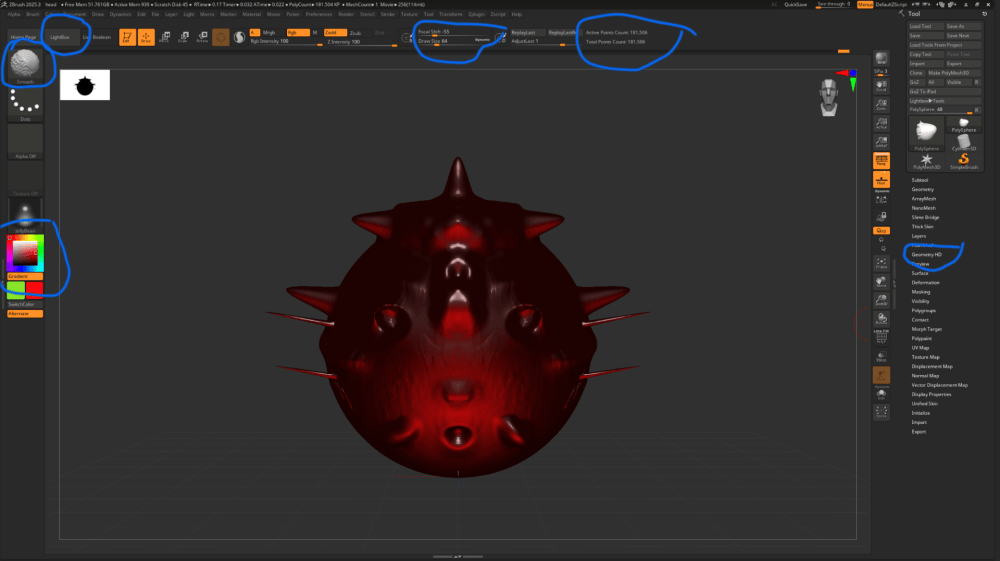
Steps
- I first selected the dynamsh sphere where u can access the shape by clicking on lightbox
- I then selected standard brush where was able to craft on my sphere
- I used the ctrl button to bring make certain features more prominent like the sides of the face
- The alt button was used to deepen the eyes
- I switched standard brush to move (I did this by clicking standard brush, found m, where I then found move ) to create the nodules on the head and spikes on the side
- Throughout I selected the draw size so I could then get bigger and smaller features with the brush
- I pressed the gradient option so I could make my monster red
- I clicked on the texture button to add some detailing to the skin
- I used the geometry tool to divide to increase the polygon count
Villain Study: Fat & Comparative Anatomy
Comparative Anatomy : During this exercise we looked at different skulls to human and animal.
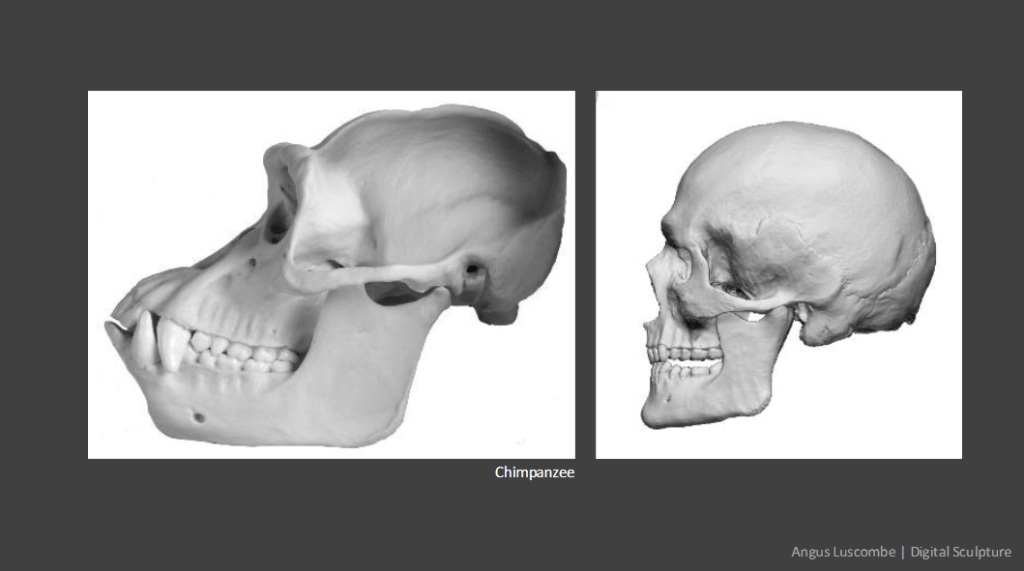
In this part we was looking as the bite strength and how we can see that in the structures of the jaw and how it would a line with the rest of the facial fat and muscle.
Lion Hyena
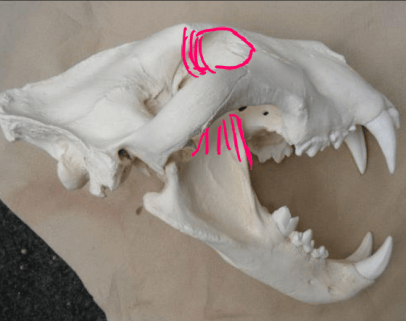
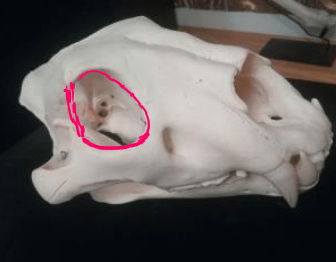
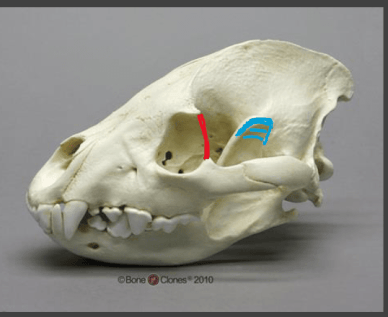
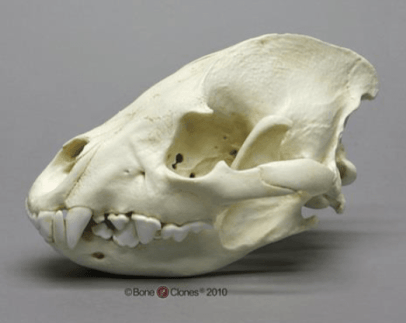
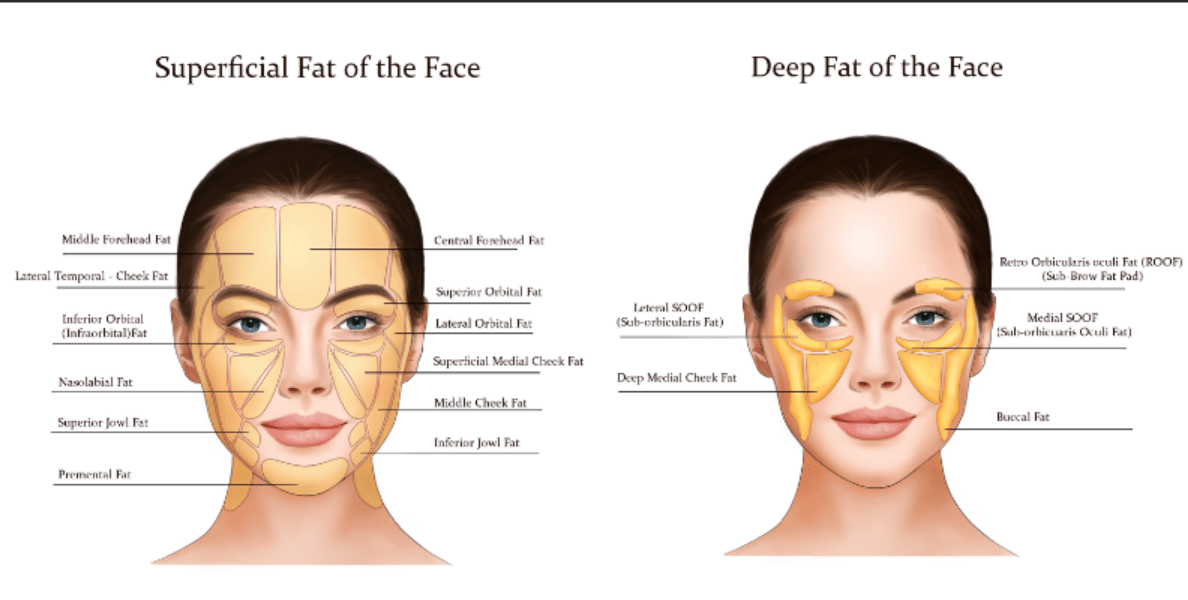
The concept of the normal facial fat (humans) is located just under the skin this gives us a sense of fullness to the face and highlights the natural volume and contours we see
Villain neck
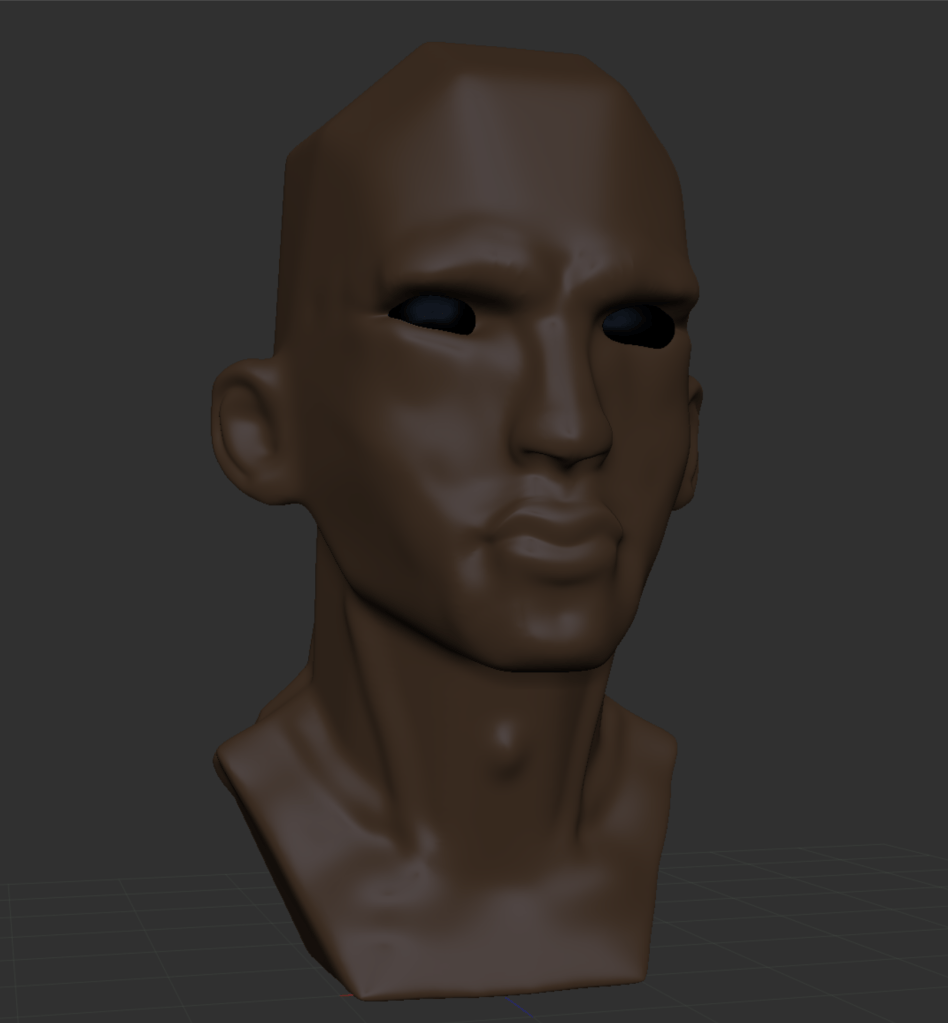
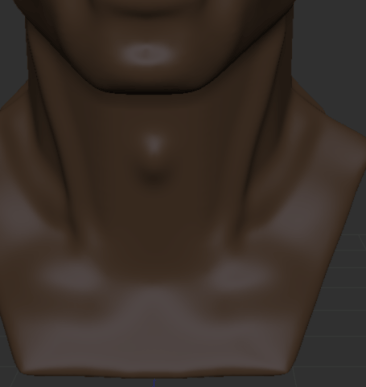
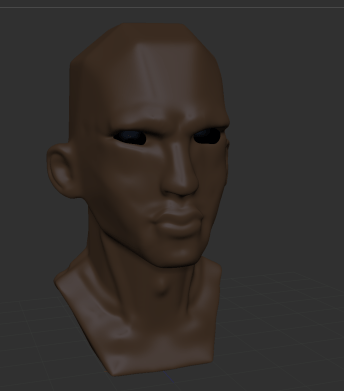
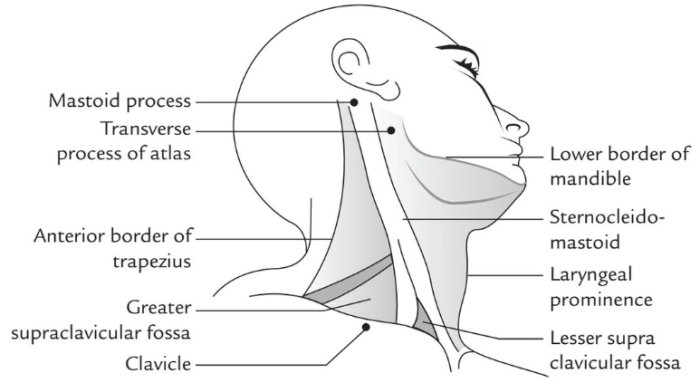
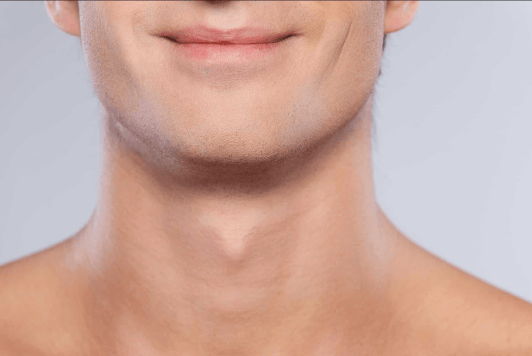
In this lesson we focused on looking at the structure of a neck and the components with it like the collar bones, since I am sculpting a male character I made sure to include the Adams apple.
Villain: Maya Pipeline – Displacement Mapping
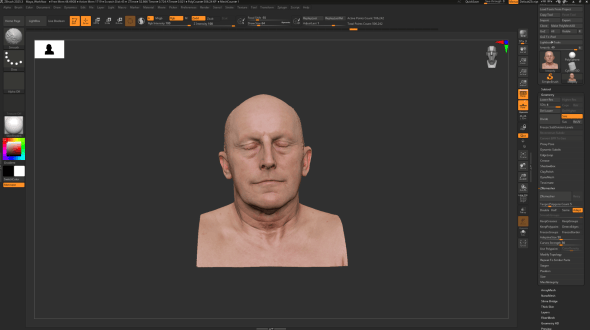
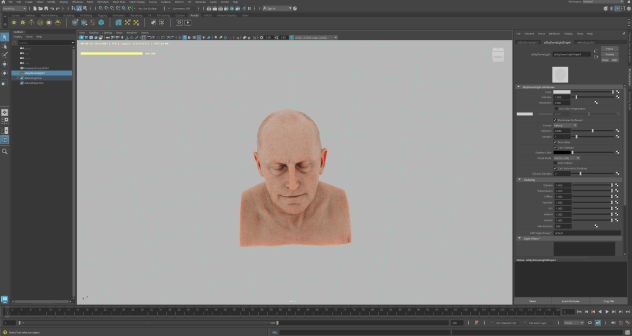
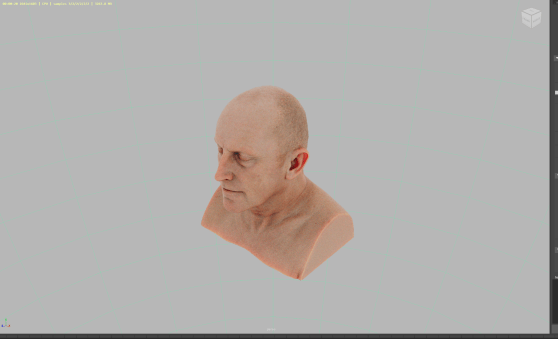
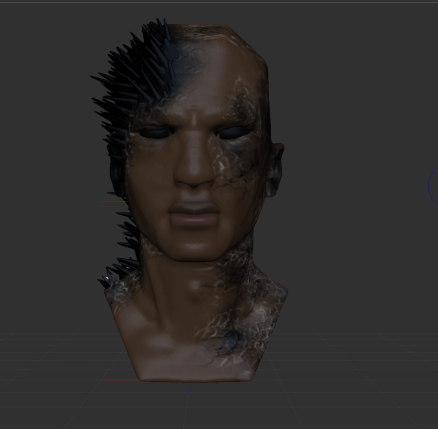
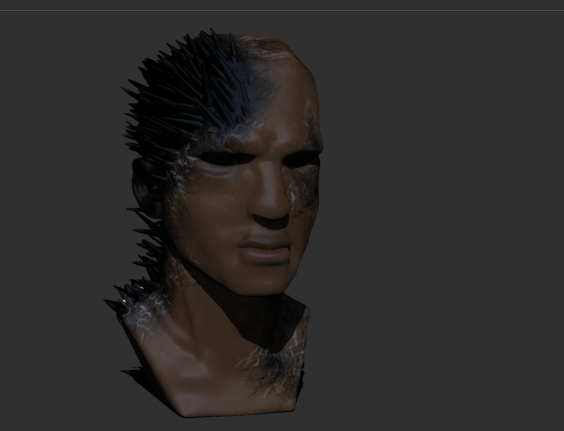
I started off the displacement mapping in Zbrush and then opened my work in Maya for a better resolution
My Villain
Inspiration

Sea Urchin
Ripples of Ocean

Sea Weed
Project Overview
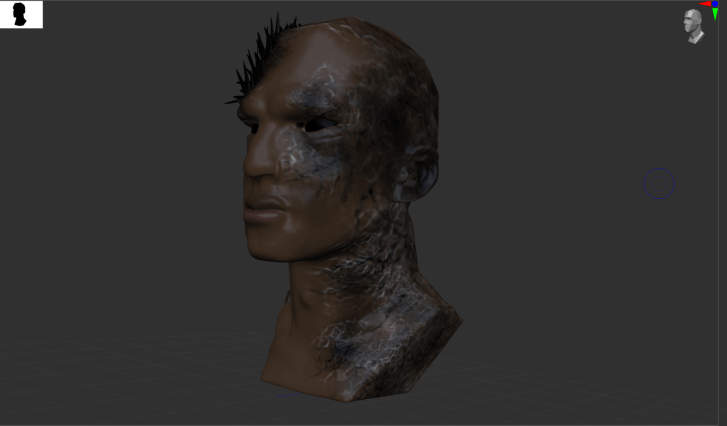
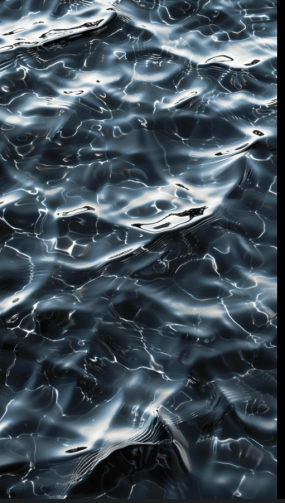
For my Villain project I decided to go with a sea monster like theme.I took inspiration from a sea urchin, this is represented through the black spikes allocated on the head down to the neck, for this feature I selected the move brush to create these spikes and change the colour to black by clicking on the gradient.I flicked through the strength of the intensity of the colour to blend it in more with the natural pigments of the skin.Next, for the other side of the face I took inspiration from the ripples that waves make and the texture of seaweed.To replicate a similar design I pressed on textures and scrolled until I saw one most fitting, I again chose to use dark colours – as connotations of dark colours represent: evil, danger and ominous etc (traits you would expect a villain to have)and the whiteish/ grey ripples to really symbolise the idea of a tidal wave.Lastly, I chose my character to have blacked out eyes as most sea animals have this feature and simply because I thought this would give him a more villainous look.

