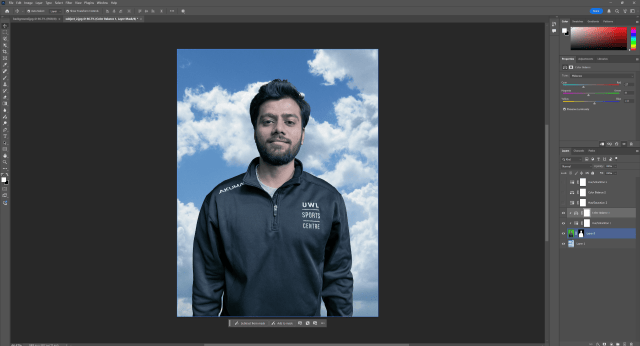


These images represent changing a background
This started off as two separate images (the man alone and the sky background)I had to layer and copy background to merge the images accordingly. Then I masked layer and played around with the hue/saturation and colour and brightness just on the man to try and get rid of the green outlines on his hair.
Steps into making an apocalyptic building


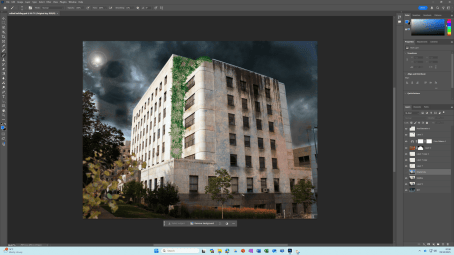
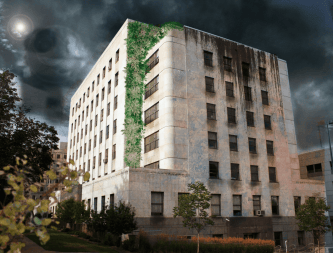
These images start off as individual in photoshop, I then layer and mask images to blend/ as separate features. What I mean by this is the rust then becomes part of the building giving it a new feel, the sky is then changed into the more looking sky and the tree image was used as a bush and also blurred to look more part of the image.
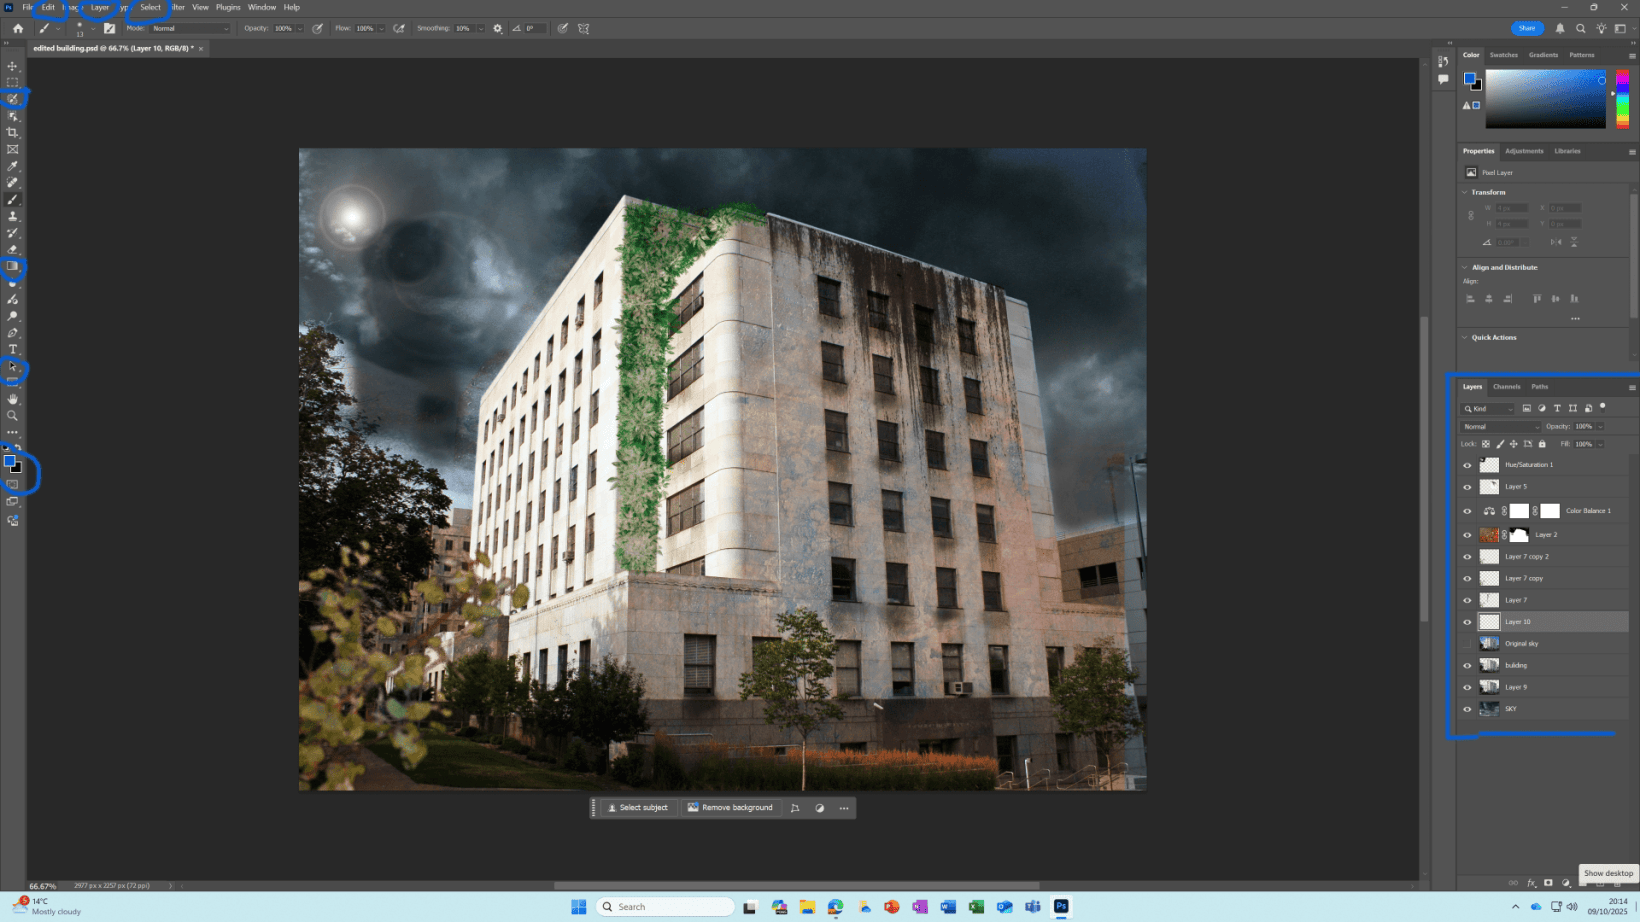
Homework 1
Apocalyptic Building
Original individual images
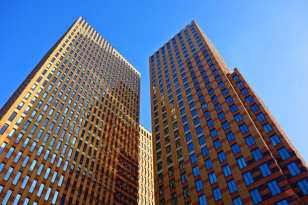

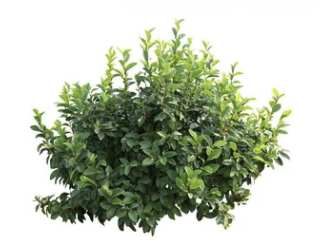
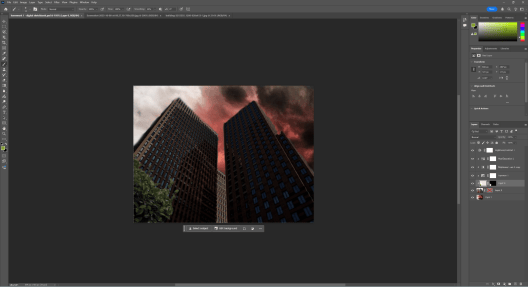
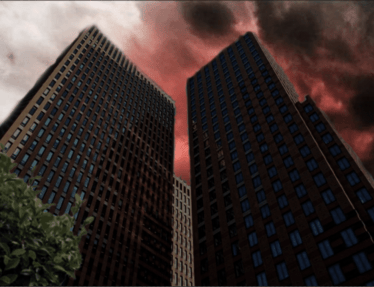
From these images it shows the process in how I created all these individual depictions into one setting. The goal of the task is to create your own version of a an apocalyptic atmosphere. This process started off by me googling the images to get a reference and gather an idea of what to portray. Then I downloaded: the sky, building and bush pictures I fancied the most. Without further ado, I opened everything in photoshop where I started off with erasing the background from the building so I could add my own sky that I picked out. I selected and used the colour range tool to ensure the background was its own image so I could then put the sky as a new layer layer. Once the main elements were in unison I adjusted the appearance of the building: I used hue/situation, brightness/contrast and exposure. Results of this , darkened my building to set the tone. I kept the sky as it is as I felt the colour and original look was fitting enough for my own apocalyptic world. Moving on, just like the sky I followed a similar process for the bush – in which I copied and pasted the bush image over to in cooperate what I had so far, I clicked the rectangular marquee tool where I could paly around with sizing and rotation to make the bush more part of my work; I then clicked on filter where I blurred it out a bit as well as selecting the paint brush to colour over it a tad to make it look like its suppose to be there. To conclude, I believe all these steps have factored into making a dystopian like apocalyptic world and the colour palette has played the biggest part into doing so – connotations to black and red symbolise darkness and danger which is what comes to mind when you think of an apocalyptic setting.
Animal Hybrid made in Photoshop
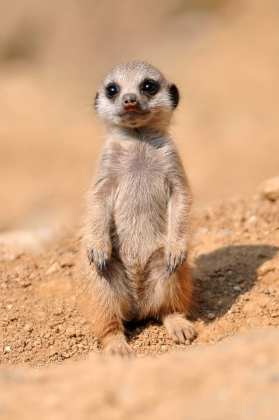
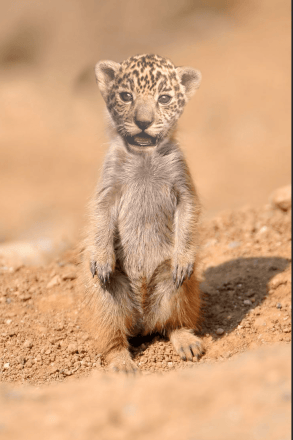
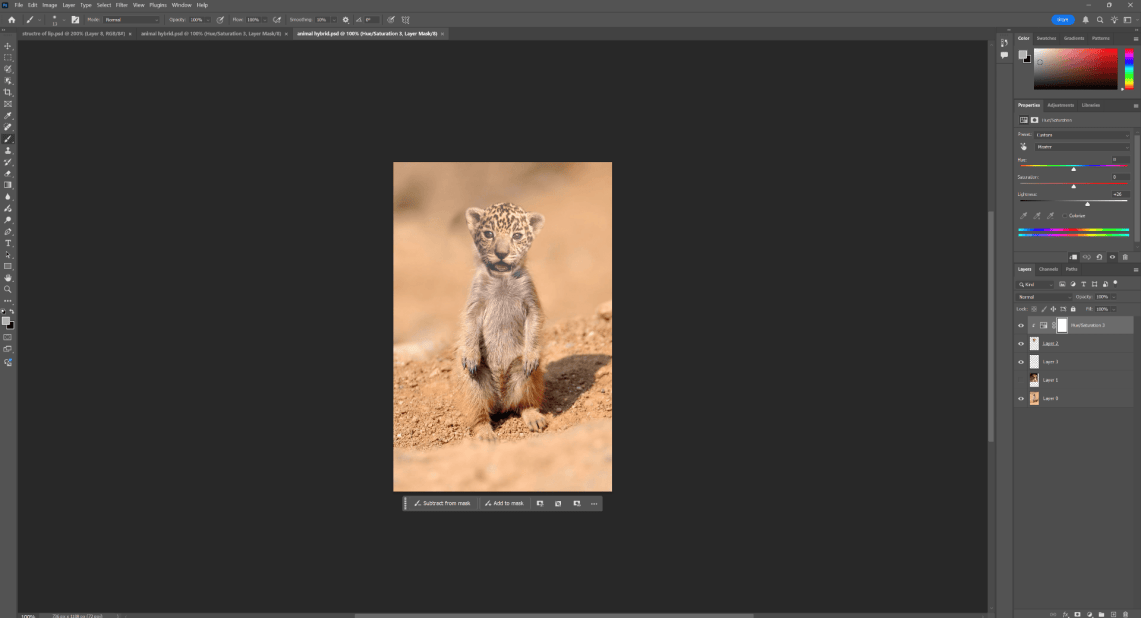
Original images My work
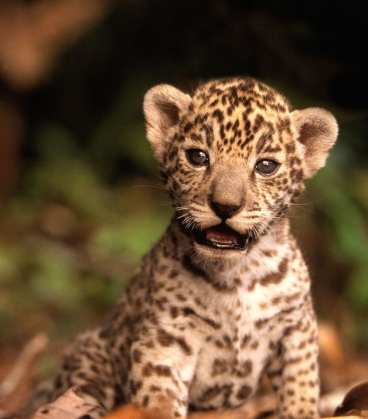
Steps
-I downloaded the meerkat and leopard in photoshop
-I then selected the pen tool to cut out the leopards head
-Once copied and pasted on the meercat I used the feather tool to rub out elements of the meerkat if I just clicked on eraser it would of rubbed out the background too
-Next I also used the blur filter to help it blend a bit more, as well as the hue/saturation
Homework 2
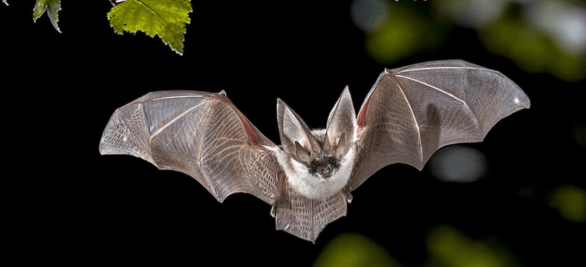
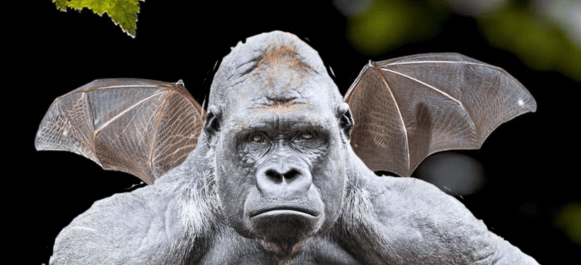

For this homework I was instructed to make an animal hybrid by using two different animals . This process started off with me googling pictures of bats and gorillas as I knew this what I wanted to combine – when I found my images I downloaded them into photoshop. I decided that the gorilla would have the bat wings as I thought this would be more of a realistic choice, after that i selected the gorilla image where I was then able to copy and paste it over the bat. Next I removed the background/ erased a bit of residue using the eraser, then picked out the move tool so I could enlarge the bat wings and rotate when necessary(I did this until I was satisfied).I also used the blur filter on the gorilla so it could blend with the background a bit more.
Homework 3
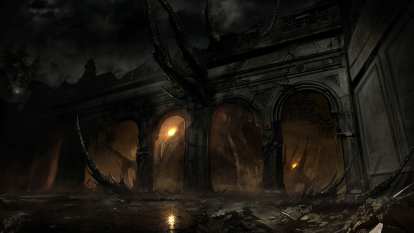
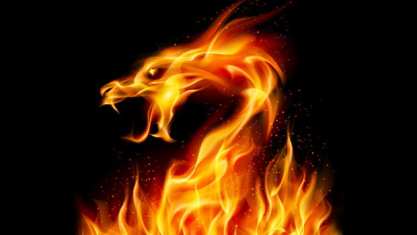
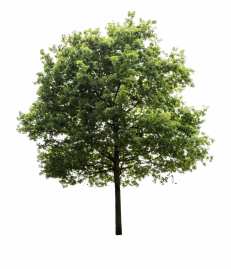
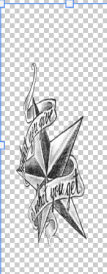
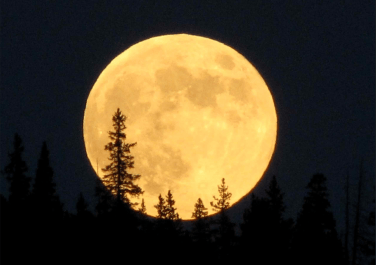
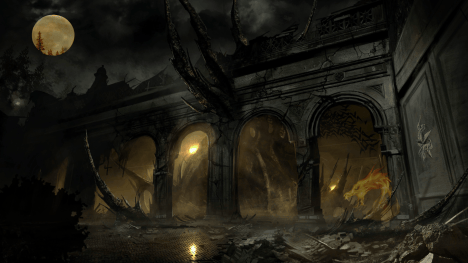
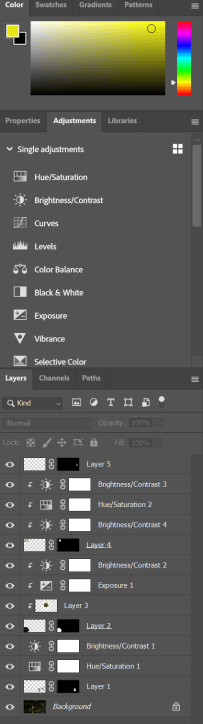
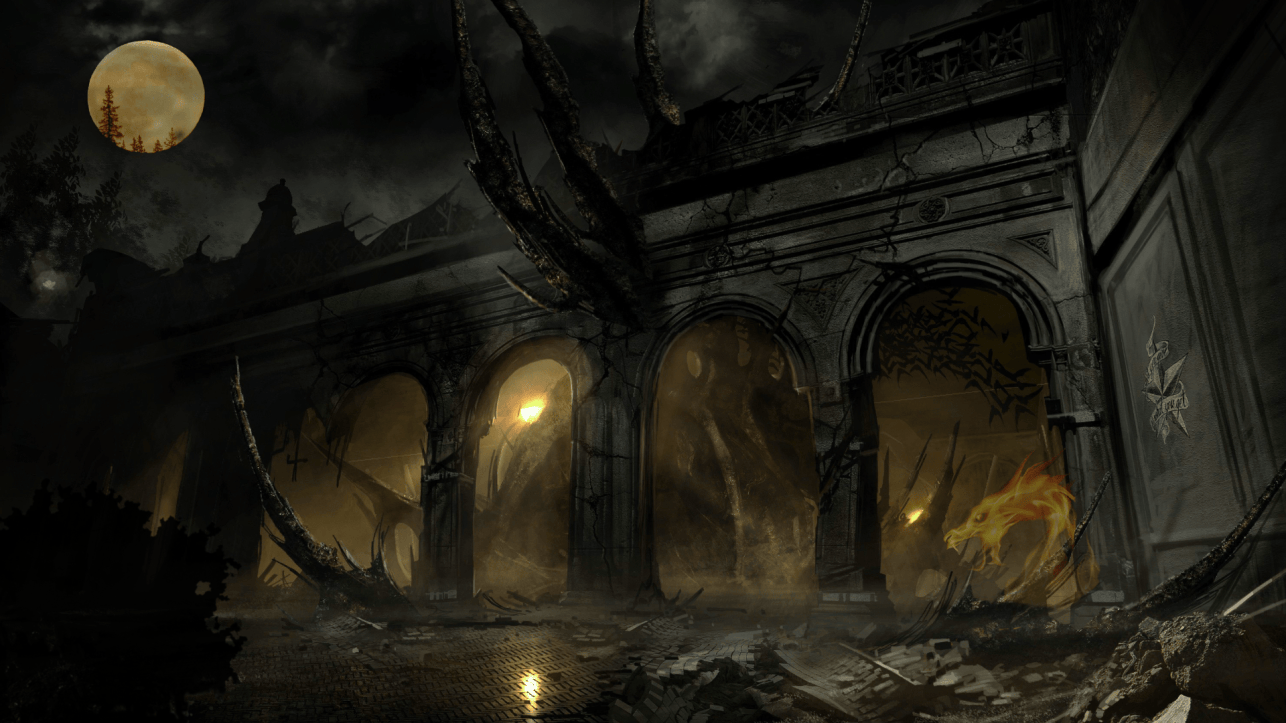
For my assignment I was asked to create a fantasy world. I chose more of a medieval world where dragons and magic exist. I started off by googling fantasy backgrounds, when I found the right image for me, I used that as my foundation for my made up setting. I then found the dragon picture where I selected it /copy and pasted it in, with this layer I removed the background and spent a bit of time adjusting the intensity of the eraser tool to make the dragon transparent so it would blend more smoothly. Secondly, I dimmed the colour and gave it more of a yellowly undertone by using hue/ saturation as well as the brightness and contrast. Next, I made the tree into bush by simply rotating the image and removing the harsh white background(I used the move too until I was satisfied with my placement) to make the bush black I used thee paint brush tool to colour it in and also used filter to blur it – so it would look more. After that, my next photo was a tattoo idea that I used for decoration on the wall I held down the Ctrl button so it would sit on the wall naturally – I also used the black&white tool to make it more blend able with the other elements in my image. Lastly, with the moon I removed the background as I also used the eraser tool to make it fit in more, then adjusted the colour by using the brightness and contrast adjustments.
…
Maya
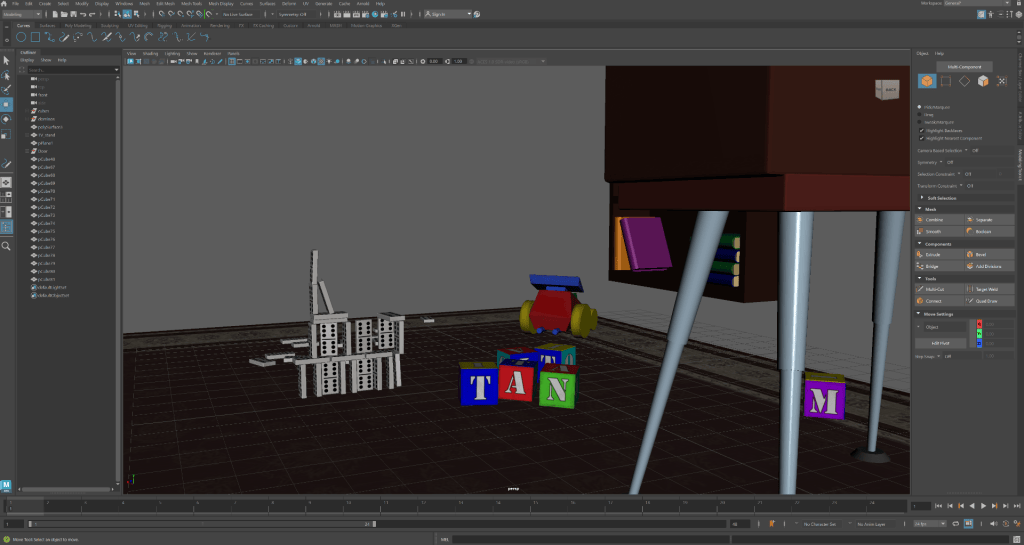
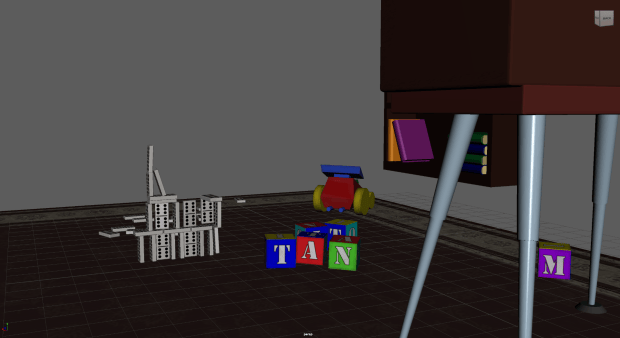
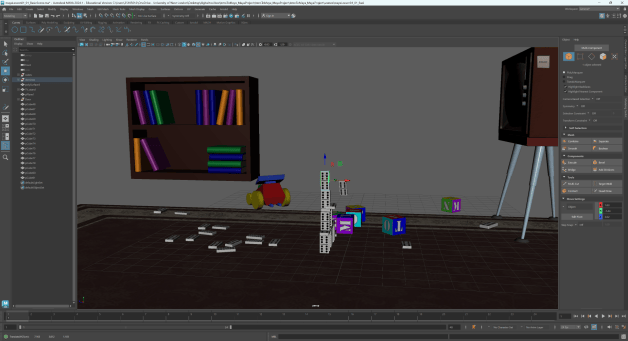
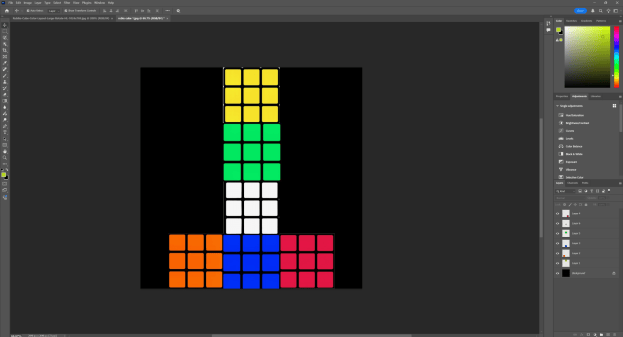
This was an introduction to Maya where we were instructed to move the blocks and rotate them to form a word we was also asked to do this for the dominos. This took a bit of getting use to as we had to look at it from all different perspectives to ensure everything looked natural we was able to look around by holding the mouse and alt at the same time.
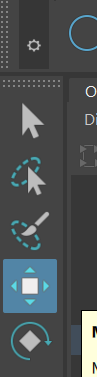
W – move
E – rotate
R – scale
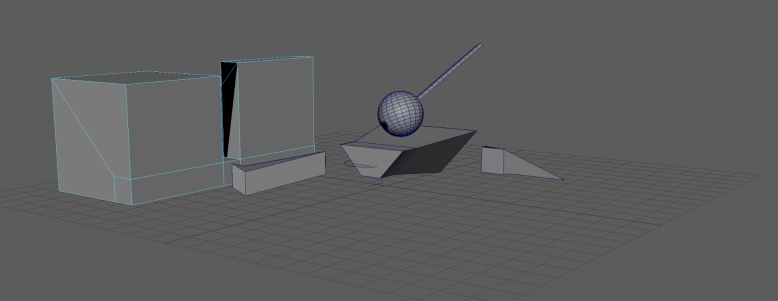
For this task we was just getting use to using different buttons and seeing what they would do. When you hold down right click it takes you to this selection….
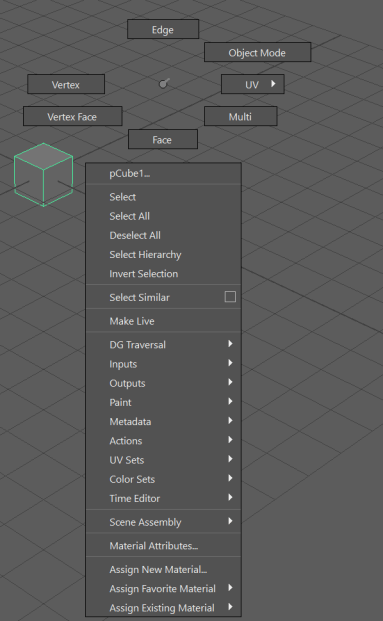
By clicking face and edit mesh I was able to change the thickness.
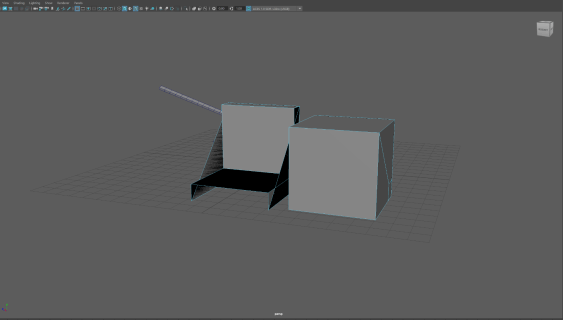
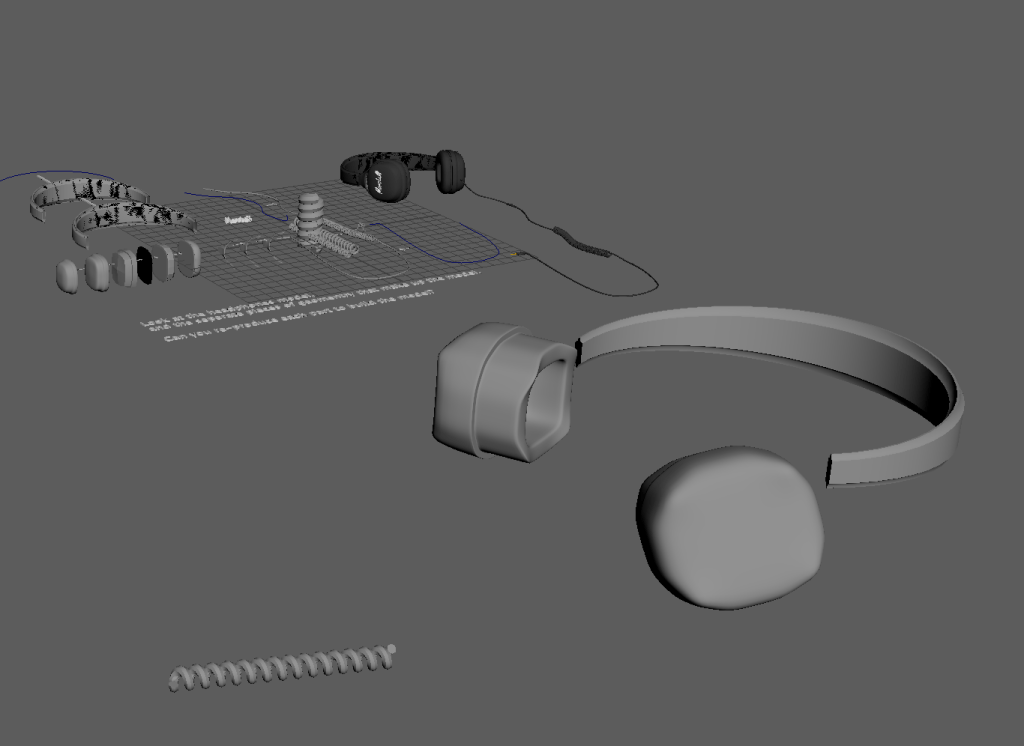
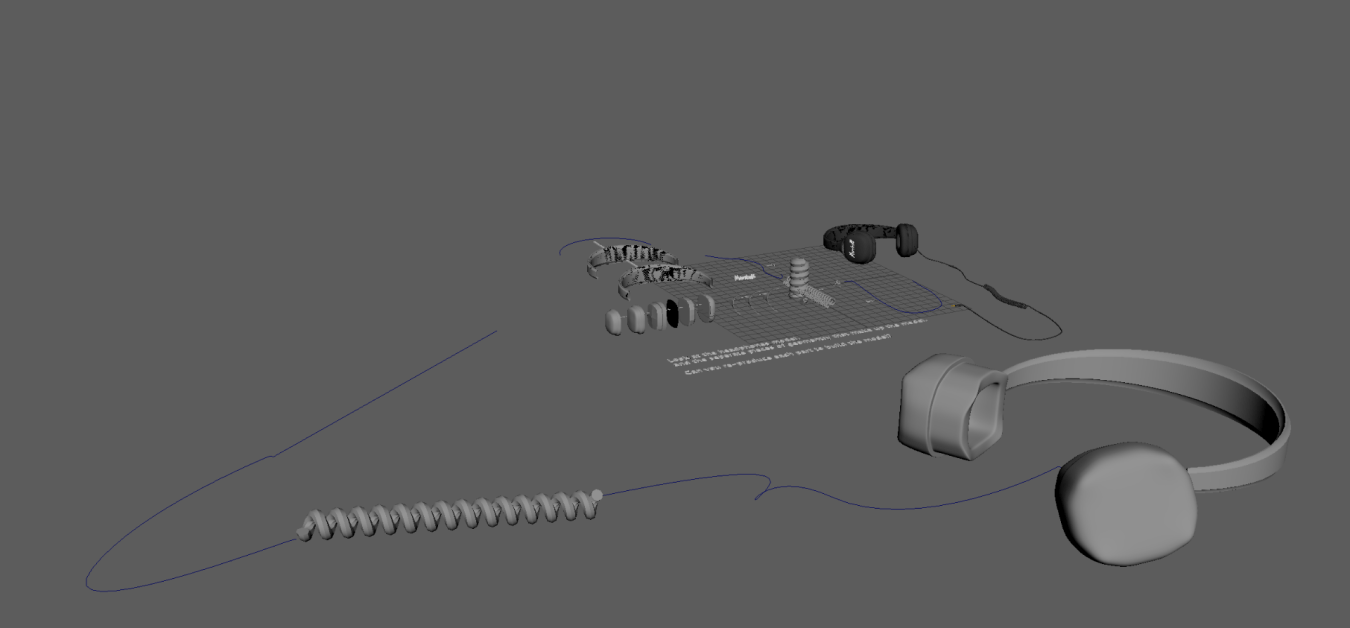
Making headphones
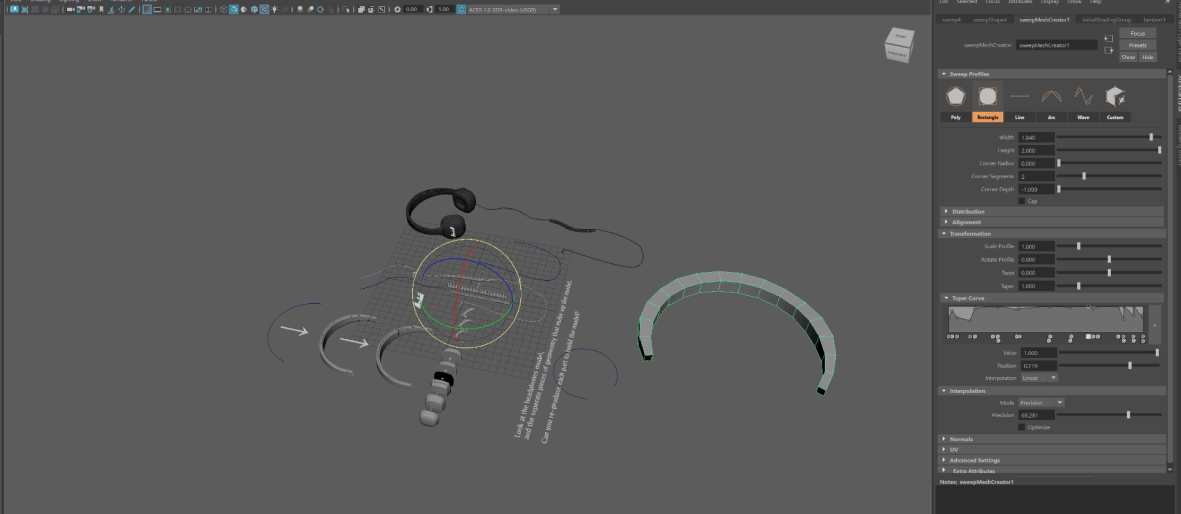
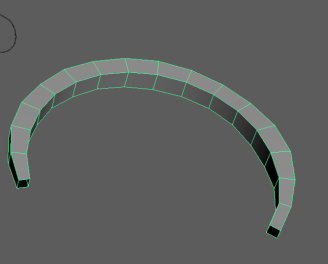 Headphone – headband shape
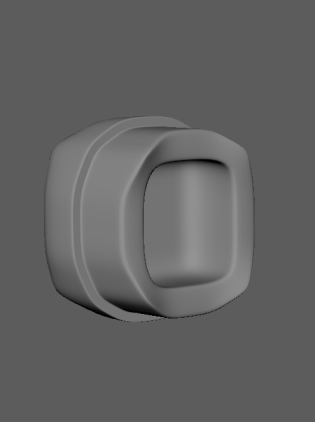 Ear cover piece
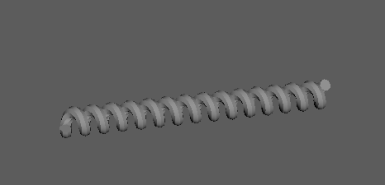 Coil of headphone
Assignment 1 – Create a James Bond style like gadget using Maya
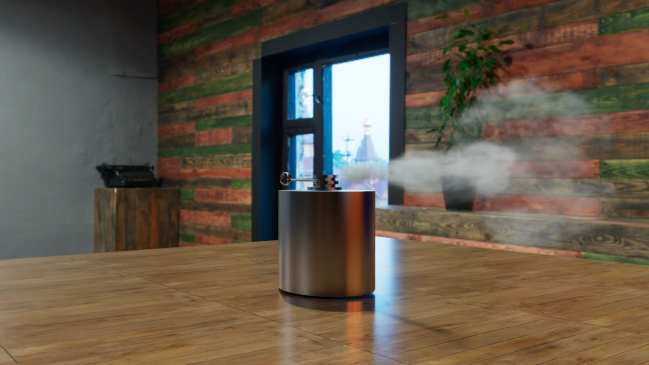
Steps
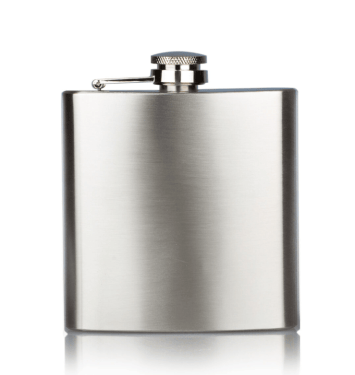
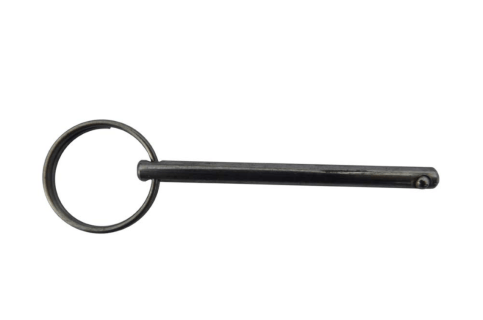
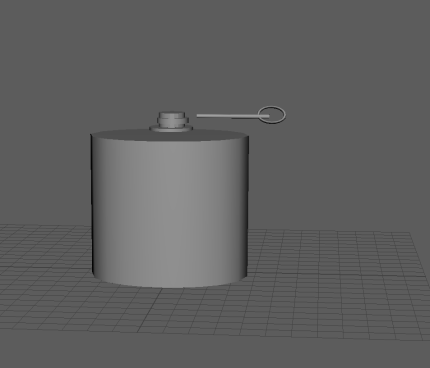
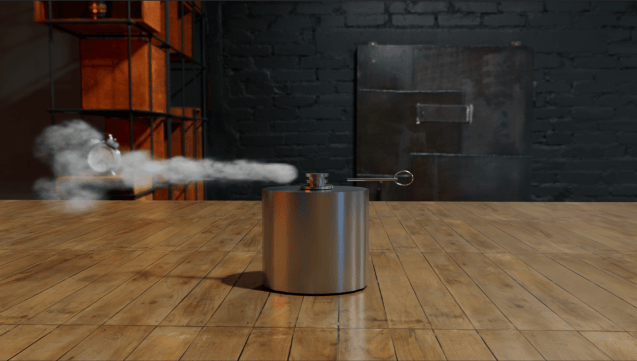
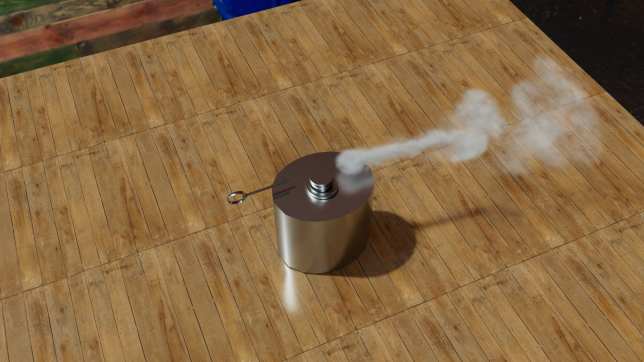
Grenade hip flask
- I started off by opening up Maya, where I selected a cylinder from polymodeling
- I scaled and extruded it
- I then followed the same process for the lid
- I then grouped all of the shapes together
- To make the pin I selected the torus where I was able to change the thickness by decreasing the radius
- Next, I scaled it until I was satisfied
- I then selected the cylinder where I scaled and extruded it until I was happy
- Once complete I grouped items together
- For both my objects I changed the texture to metal and added a dark grey like colour
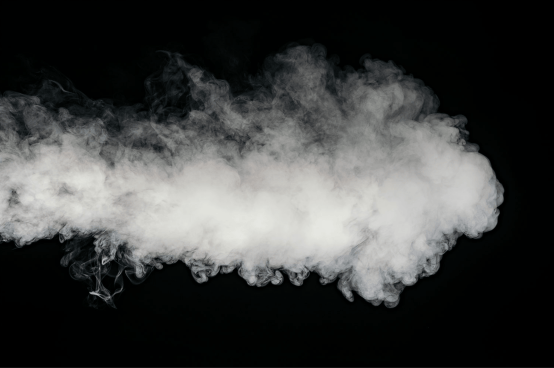
- To make the fluid tank I Changed mode to fx, then selected my tank
- Then in fluid shapes one I went to containers property I changed the size too15.000 20.000 15.000
- Then I select my Emitter, where I change the Density/Voxel/Sec 3.000
- Then I re select my fluid tank
- Contents method – density – dynamic gold
Base resolution -30
- Contents detail – density – buoyancy 1.700
Dissipation – 0.100
Velocity – swirl 3.798- noise 0.349
Turnbalance – strength 0.030
textures and turn on – texture colour/incandescence/ opacity
- Container properties – base resolution 120
nCache – create new cache – Maya fluid
- Next I changed the background by downloading one from the site poly haven
- I then selected the ai sky dome where I was able to place my background by opening file
- Lastly, I rendered my spy gadget
…
Lighting and rendering on Maya
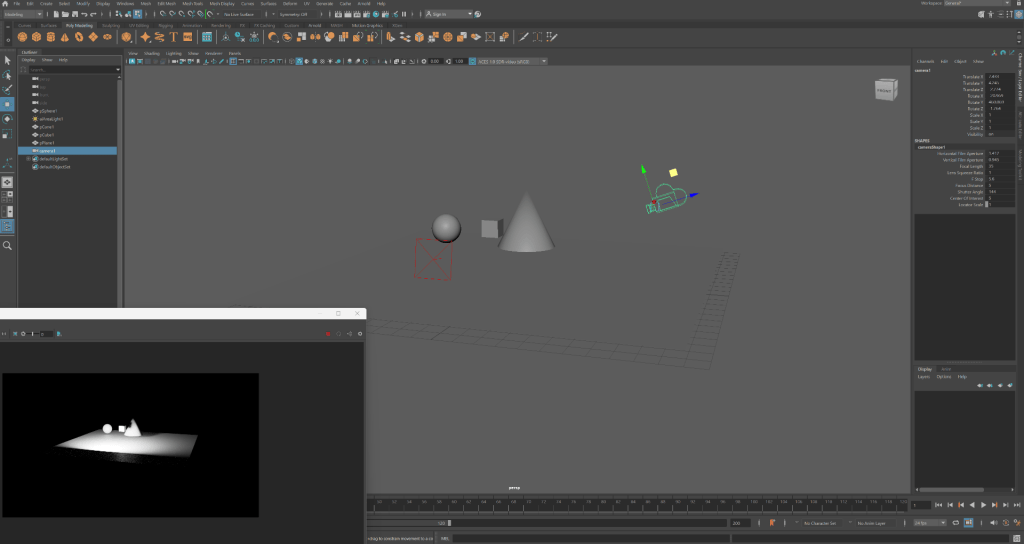
Steps
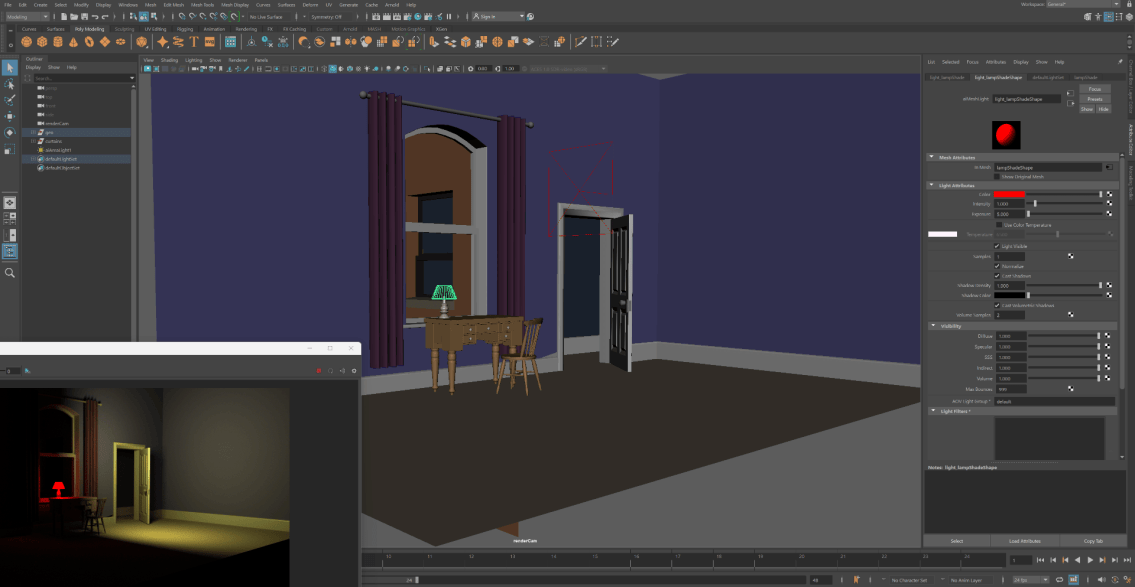
-I clicked on poly modelling where I was able to select my shapes
-Next, I made my light by selecting create – light – area light
-Followed by, pressing create then camera to create my camera to mimic a set-up
-After that, I used arnold to render
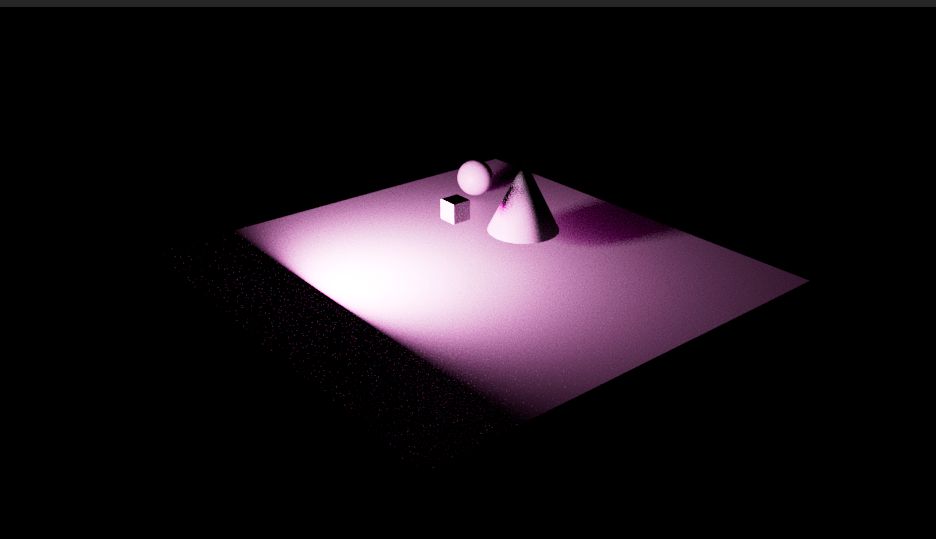
-I clicked on the area light where I was able to use arnold – light – mesh light
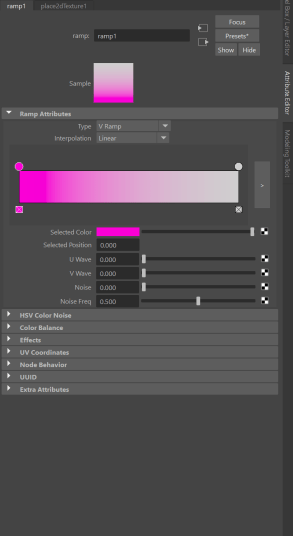
-I did this so I could then change the colour by clicking, colour – arnold – ramp then changed the colour to pink
-To make this appear I changed to intensity and exposure, then light visible
Steps
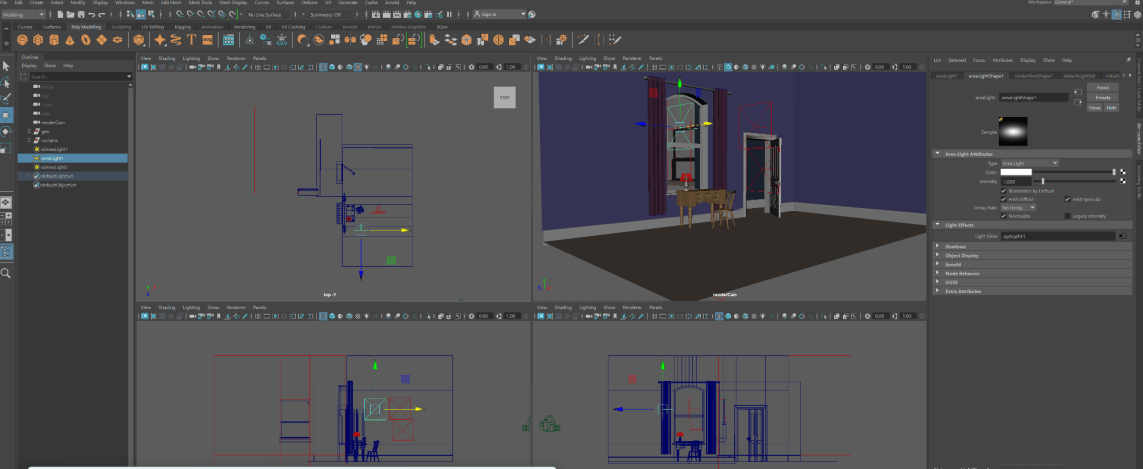
-To make the lamp red I put it in object mode so I could then select arnold – lights – mesh light
-Secondly, I adjusted the exposure, intensity and pressed light visible
-After that, I pressed assign new material – arnold – ramp where I was able to select the colour
-I repeated this process for the area light in the doorway
-I also added another area light above the window by clicking create – light – area light and once again followed the same process
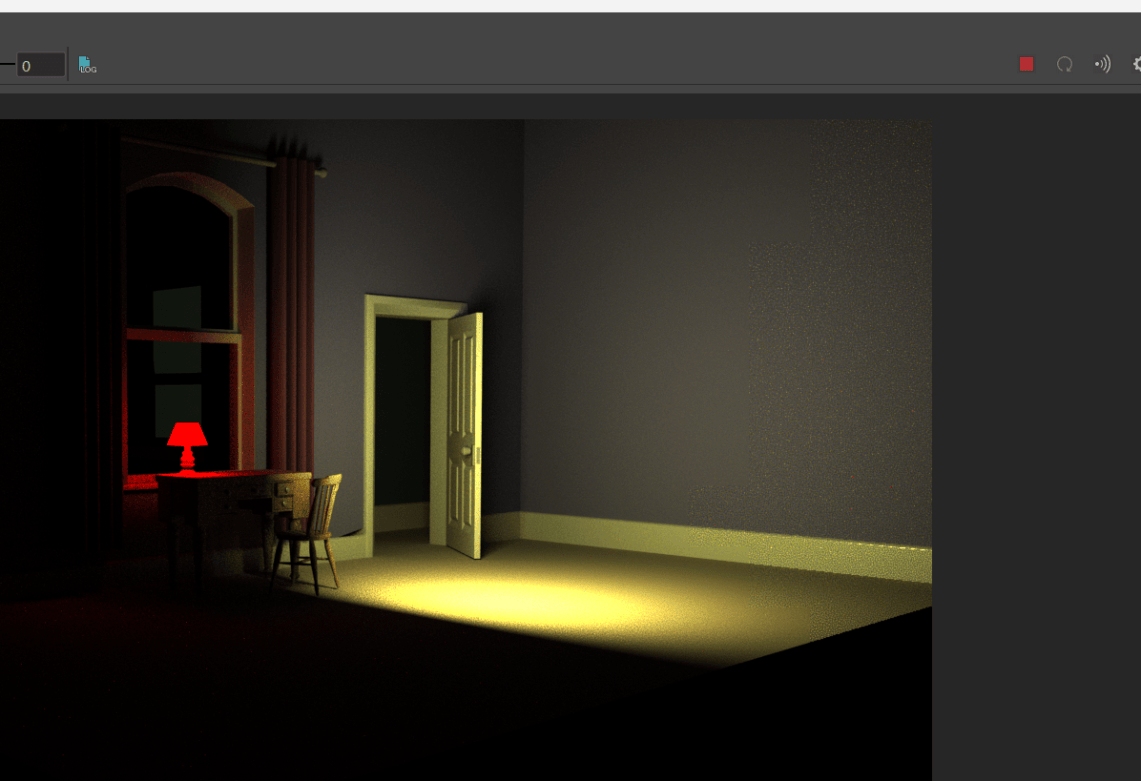
-Lastly, I clicked on arnold where i was able to render out my image
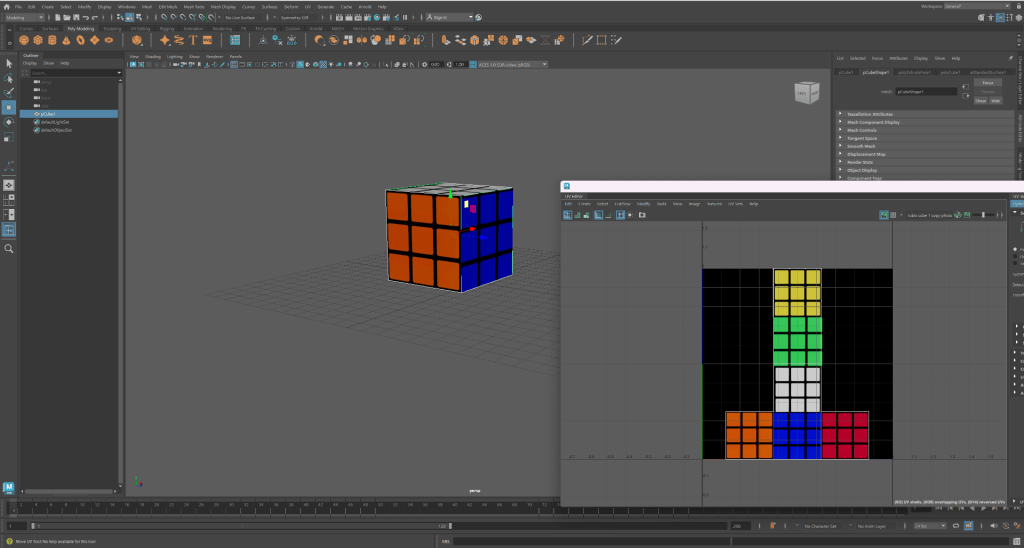
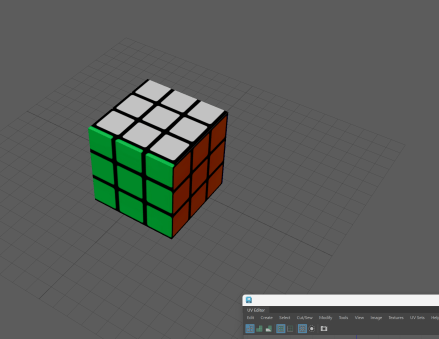
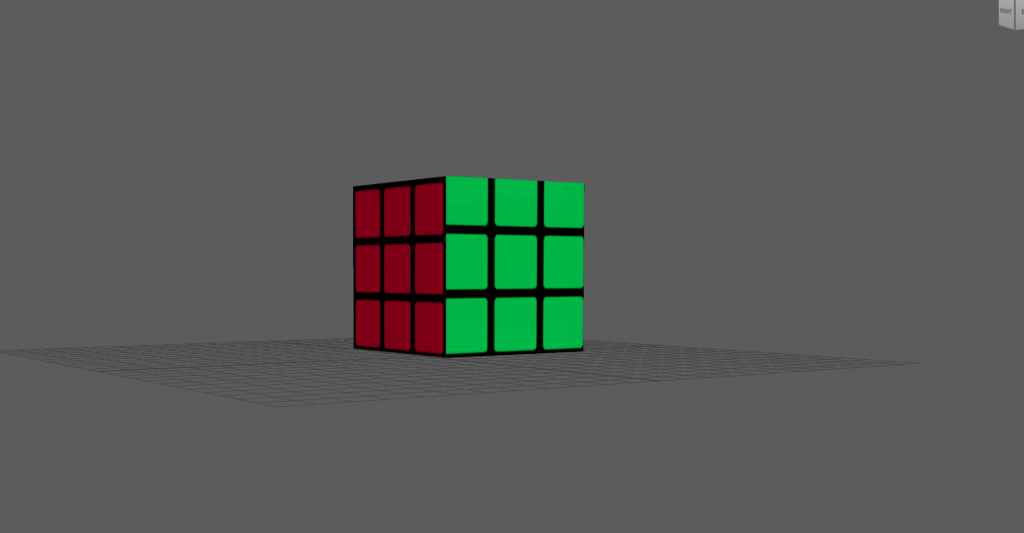 Steps
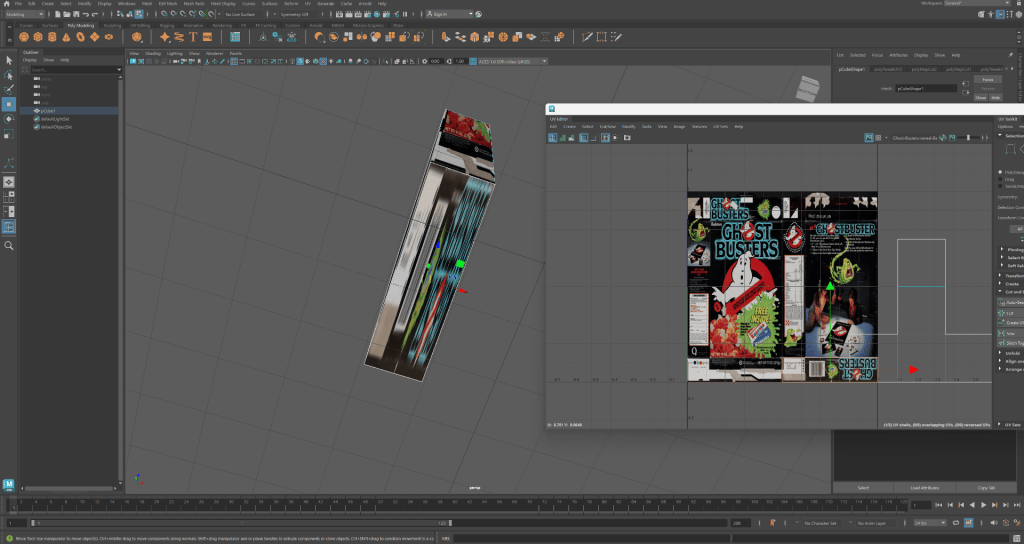
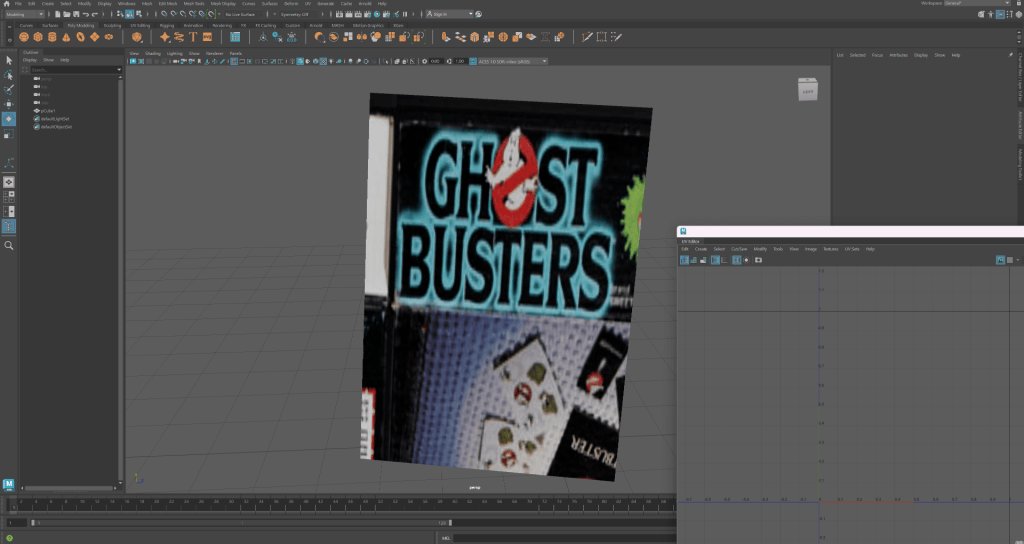
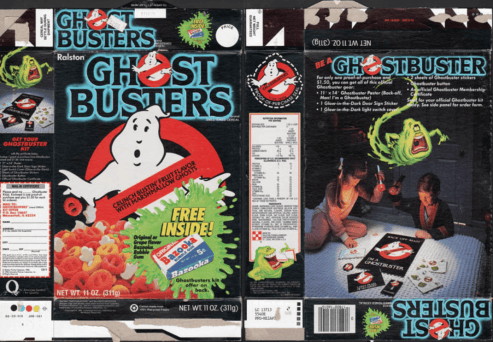
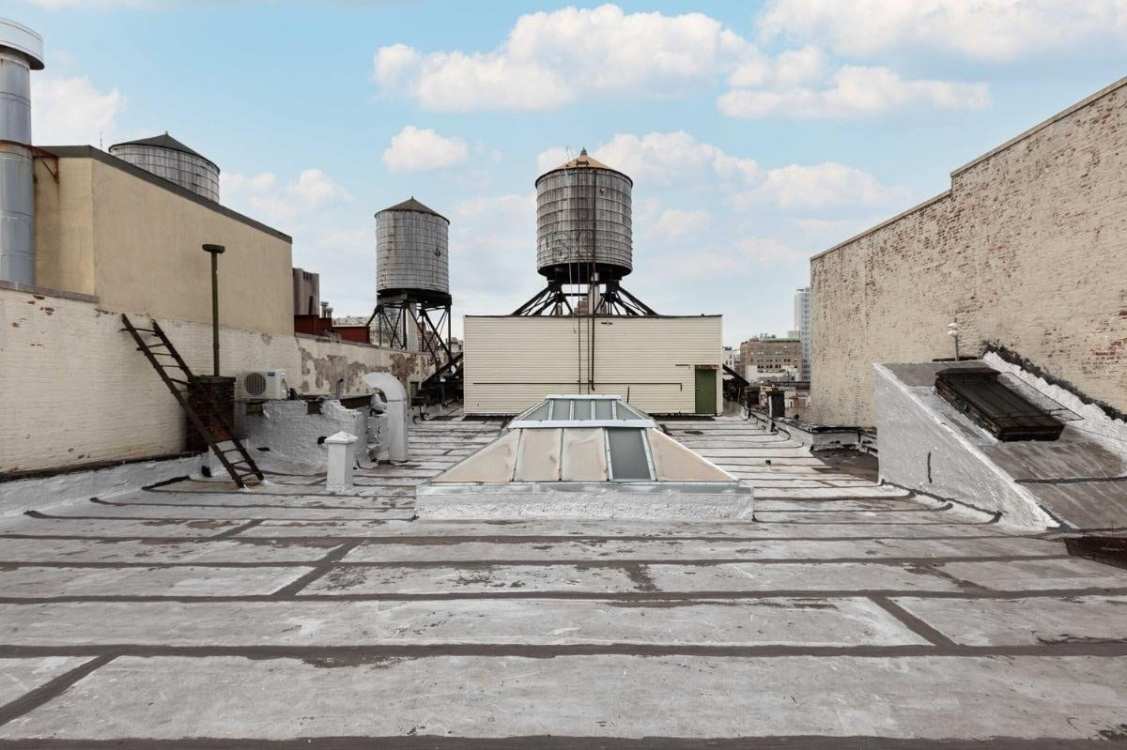
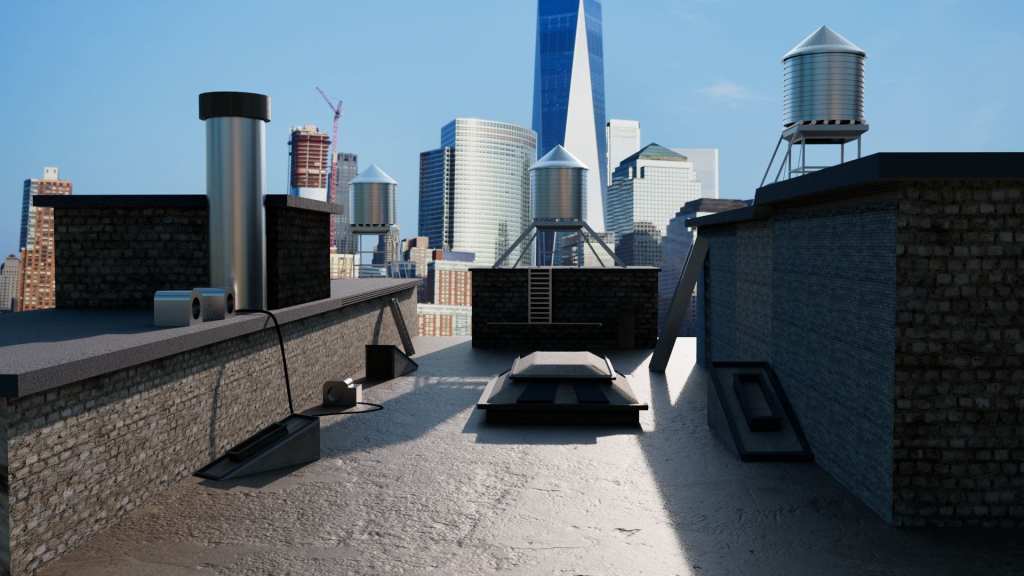
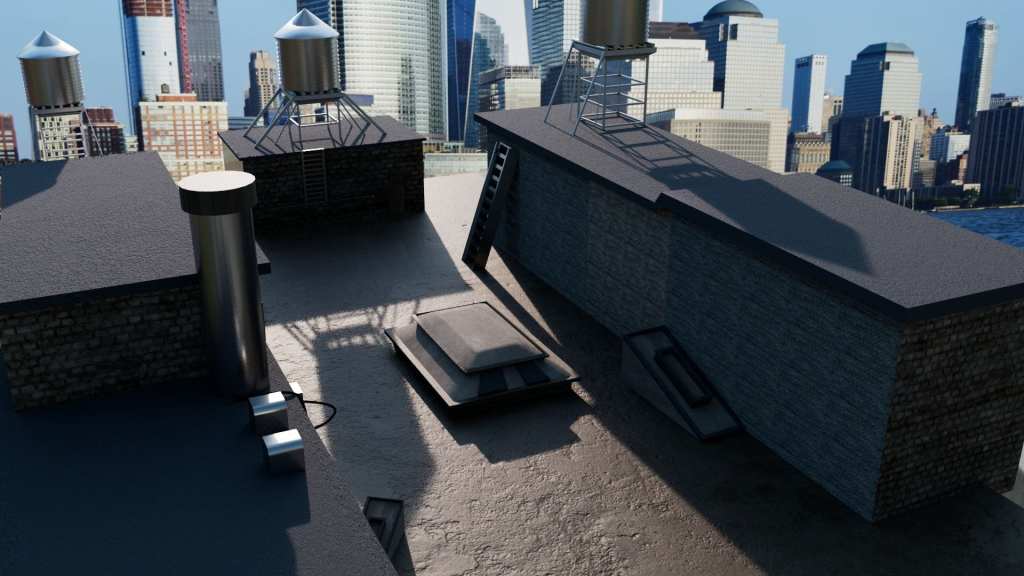
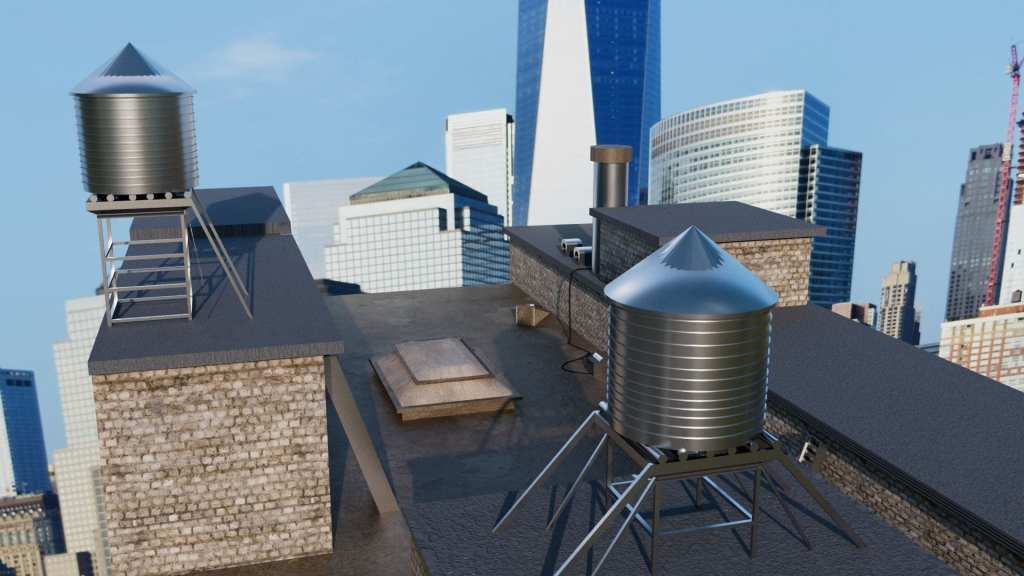
Maya – roof top
- start off by opening Maya
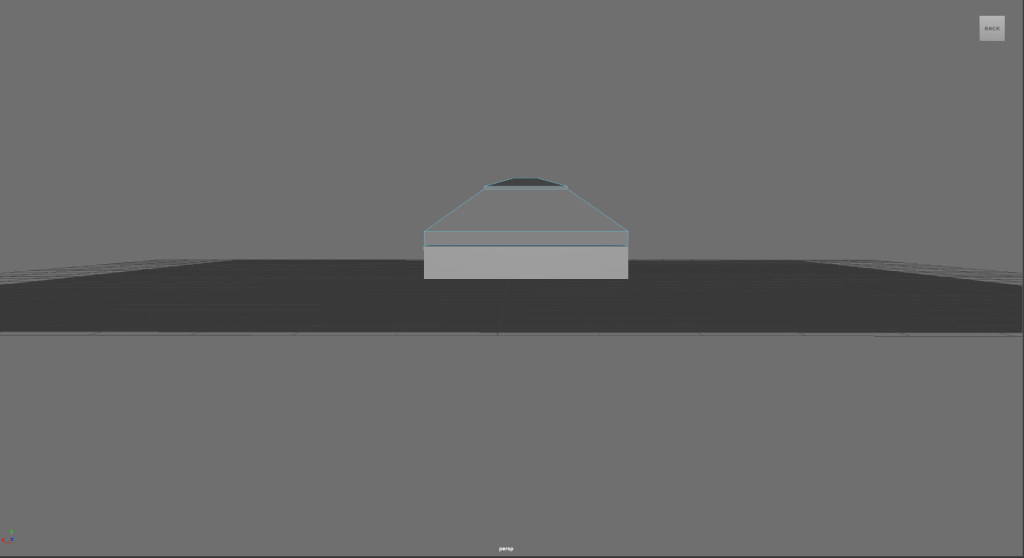
- I go on to poly modelling where I select the plane to act as the brick floor
- I then scaled it to size
- Next, I get a cube where I scale it to my liking
- I repeats the same process by adding a smaller cube on top where I flatten and stretch it out to size
- After that I extrude and offset that box to create a triangular prism like shape
- I then pressed – edit mesh – mesh and the combined my shapes to be one object
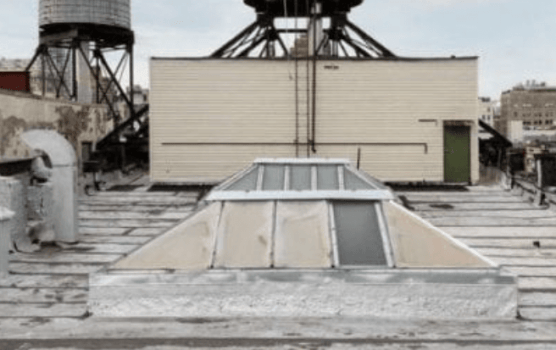
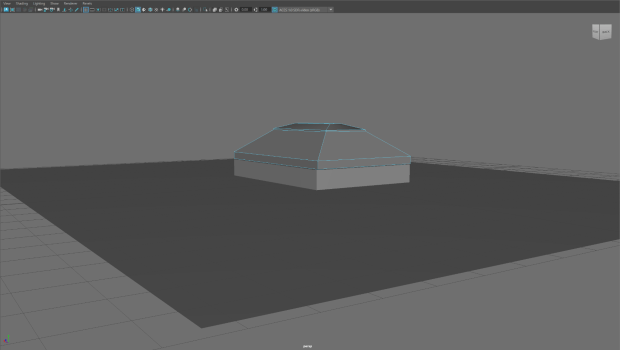
- Next, I start off by making the building behind, I grab a cube and scale it to appropriate size and make it into a rectangle like shape
- After that, I repeat a similar process to craft the door
- I then downloaded a sphere and made it smaller to be the door handle
- To make the pipes and ladder I scaled and rotated cylinders to achieve this
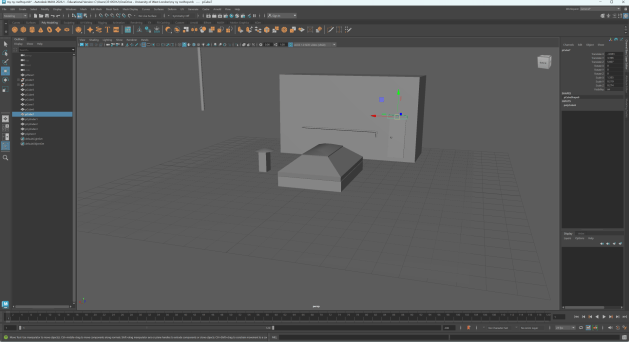
- In summary, to achieve my New York roof top I mostly repeated the same process.